
The Basic Steps of the Full-Inclusion Bread Making Process
A Key Outline to Follow Every Time

If you have experience baking bread, these steps will feel very familiar. That’s because almost all bread is made following the same few steps in exactly the same order. Once you familiarize yourself with the routine, it becomes much easier to think through the specifics of your process for each individual loaf. Baking bread is a lot like playing music in that once you’ve memorized the chord progression, you’ll be better able to both improvise and to focus on the key details that allow you to perfect each overall performance.
Each of these steps could be an entire chapter in a baking book; there’s just that much to say about bread. However, this blog post is really about understanding how the different steps work together and the key accomplishments of each one. Many of the steps are things we’ve already covered in dept in other blog posts, and others are things we’ll discuss in length later on. For now, focus on familiarizing yourself with the process as a whole.
Step 1: Decide on Your Recipe
This may seem too obvious of a first step, but really is important enough that we dedicate some real thought to it. If you’re developing your own recipe, start here. If you’re using a recipe someone else developed, make a note of any changes you plan to make and do all the batch size math beforehand to avoid mistakes. Since bread takes so long to prepare, it’s easy to forget if you decided to double or triple your recipe halfway through and make a mistake. It’s best to do all the math at once when you have a clear head and to write everything down in one place.
This is also a good time to check that you actually have all the ingredients you’ll need. If you only have half of something essential, you can adjust the recipe at this point to accommodate what you have, or you can make a quick trip to the store before it’s too late.
If you’ll be milling your own flour, now is also a good time to place the wheat berries into the refrigerator or freezer (if they’re not already in there) to ensure they’ll be cool enough for milling.
Step 2: Prepare your Starter
If you’re using a starter for your recipe, which really you should as starters always improve flavor and texture and are super easy to do, this will be your second step. Read our Master Starter Resource for tips and tricks. Starters can be ready in wildly different amounts of time, so be sure to work backwards from when you want to mix your final dough.

Step 3: Incorporation
The first step of the actual mixing process is incorporation. This steps begins with placing all the ingredients in the mixing bowl and ends when they are fully incorporated. In a professional bakery, incorporation time does not count towards mixing time. Different cookbooks address this step in different ways, so be sure to read the text of your book carefully.
Incorporation is significantly easier when you place the ingredients in your mixing bowl in the correct order. Bread dough is sticky and heavy, making scraping the bottom of your bowl to ensure proper mixing difficult. But, if you put the ingredients in your bowl in the right order, you won’t need to scrape at all. First, add all the wet ingredients, including water or milk, starter, and any eggs, honey, or oil. The exception to this is butter which doesn’t get added until the very end of the mix. If you’ll be dissolving the yeast into your milk or water, you can do this directly in the bowl before adding any other ingredients, saving you a step and a few extra dishes. Then, put the dry ingredients, including the flour, sugar, and spices on top. Adding the ingredients in this order will prevent a lump of dry ingredients at the bottom of your bowl.
The mixing process of incorporation almost always takes five minutes, and it’s always done on the lowest speed. The goal is to create an even dough where all the ingredients are fully incorporated. You’re not trying to develop any gluten at this point but rather to combine the wets and dries so the flour can hydrate fully in preparation for the next steps. If you’re mixing a small portion of dough in a small mixer like a Kitchenaid, you can do the incorporation mixing with the paddle attachment to better combine the ingredients.
Step 4: Autolyse
This step rests the dough in the mixing bowl, allowing the flour to hydrate even more before the final mix. The salt is sprinkled on top of the dough for the autolyse where it can begin to dissolve from the moisture in the dough. Importantly, it’s not actually in the dough yet. Because salt causes the gluten strands to contract, it has a counter effect to the flour hydration process we’re looking for in an autolyse. Not all bread recipes call for an autolyze, but it’s a good practice, and it's even more important in full-inclusion baking because we want to give our gluten every assistance possible. Some bakers and baking books call for other ingredients like yeast to be added after the autolyse. This honestly doesn’t matter; the key is to avoid the salt.

Step 5: Final Mix
The final mix always includes some mixing on low speed, usually followed by some mixing on high speed. The low speed mixing begins the process of developing the gluten structure of your dough. It is the more important part of the process, and some doughs, especially doughs that have a high hydration and contain lots of starter, only need to be mixed on low speed.
High speed mixing develops the gluten more intensely, but it also is more likely to overmix your dough. The dough is overmixed when the gluten strands start to squeeze out the water content and then eventually break apart. The first sign of overmixing is the dough becoming shiny as a result of the water leaching out. Beyond that, you’ll see the long strands of dough your dough hook forms get shorter and shorter and eventually break into clumps that resist cohesion. The risks of high speed mixing are intensified when using full-inclusion flour because the sharp bran flakes cut the gluten strands. High speed mixing is most often used for enriched doughs that contain other ingredients like eggs and sugar which both protect from overmixing somewhat and require extra mixing time for the gluten strands to fully come into contact with each other.
When mixing a dough with butter, the butter is added on high speed after the full mixing process has been completed. Mixing notation is often expressed like this: 4/3, meaning 4 minutes on low, followed by 3 minutes on high. When butter is added, you’ll see 4/3/2, or 4/3 + 2, meaning mix the dough for 4 minutes on low, 3 minutes on high, and then add the butter during the 2 minutes allotted for that step. Once the butter is added, gluten formation stops, so it’s important that the dough is fully developed first.
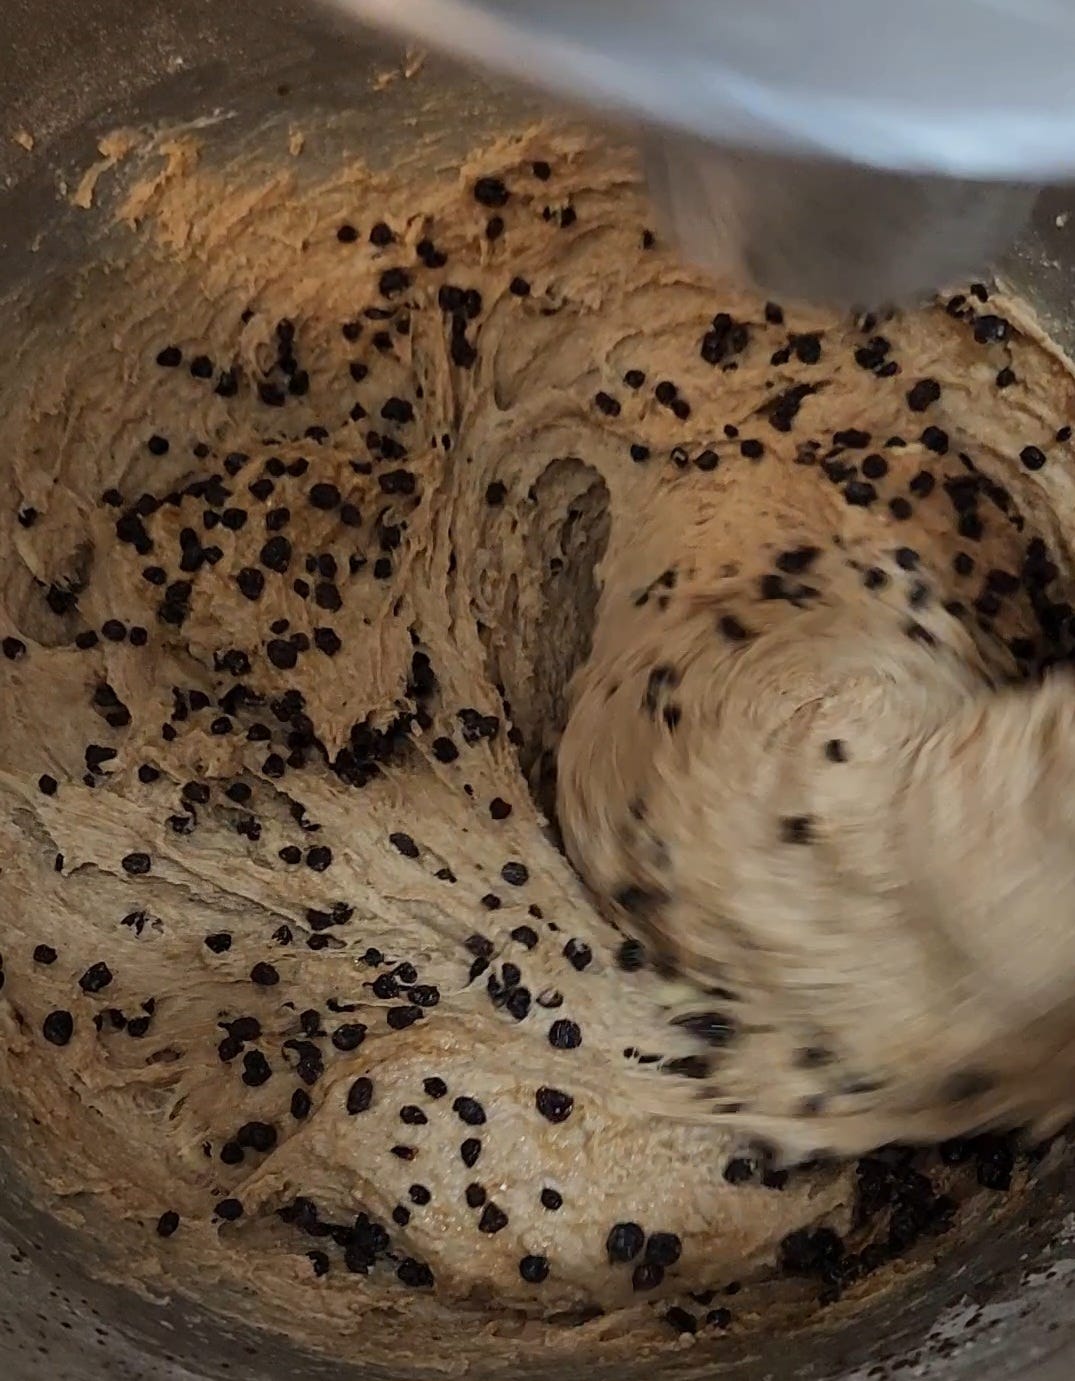
On some occasions, you’ll be mixing in inclusions like multigrain soakers, fruits, nuts, and more. This is always the very last step of the mixing process, and it’s always done on low. The goal is to combine the new ingredient with the dough to make a cohesive whole without breaking your inclusion up in the process.
Step 6: Bulk Ferment
Next, the dough is put in a large container with a lid for bulk fermentation. Bulk fermentation is all the fermentation time of the dough before it is divided. Any folds happen during bulk fermentation, and bulk fermentation can happen at room temperature, in the refrigerator, or at any combination of those two temperatures. This time is crucial to allow the yeast to do its work.
Step 7: Shape
When you divide and shape the dough, the handling of the dough activates the gluten one more time. That’s why the bulk fermentation step is so important. If you shape your loaf immediately after mixing, the gluten will be too relaxed by the time the fermentation is complete, and your loaf will not hold its shape in the oven.
When you divide the dough, you usually end up with oddly shaped rectangles or squares. To more easily transition to your final shape, a preshape is a key step that eliminates any jagged corners. Preshapes are usually done by folding all the edges of the dough in to create a loose round or oval and then resting the dough on your counter in this shape for about five to ten minutes before attempting the final shape.
Step 8: Proof
Proofing your dough is the process of allowing the yeast to do its last bit of work. This is where the light crumb structure that we all love develops. It’s also where the yeast continue to break down the starches in the flour into sugars that will perform the Maillard reaction during baking.
Proof your loaf until it passes the finger dent test. If you gently poke the tip of your finger into the loaf, how much does the indentation spring back? If it springs back all the way, your loaf needs more proofing time. Your loaf is ready to bake when the indentation springs back about halfway.
Step 9: Bake
Baking your dough is the final step! Be sure your oven is fully preheated as you’ll need a blast of heat at the beginning of the bake to create oven spring. If you’re planning to score your loaf, do it right before you place your loaf in the oven.
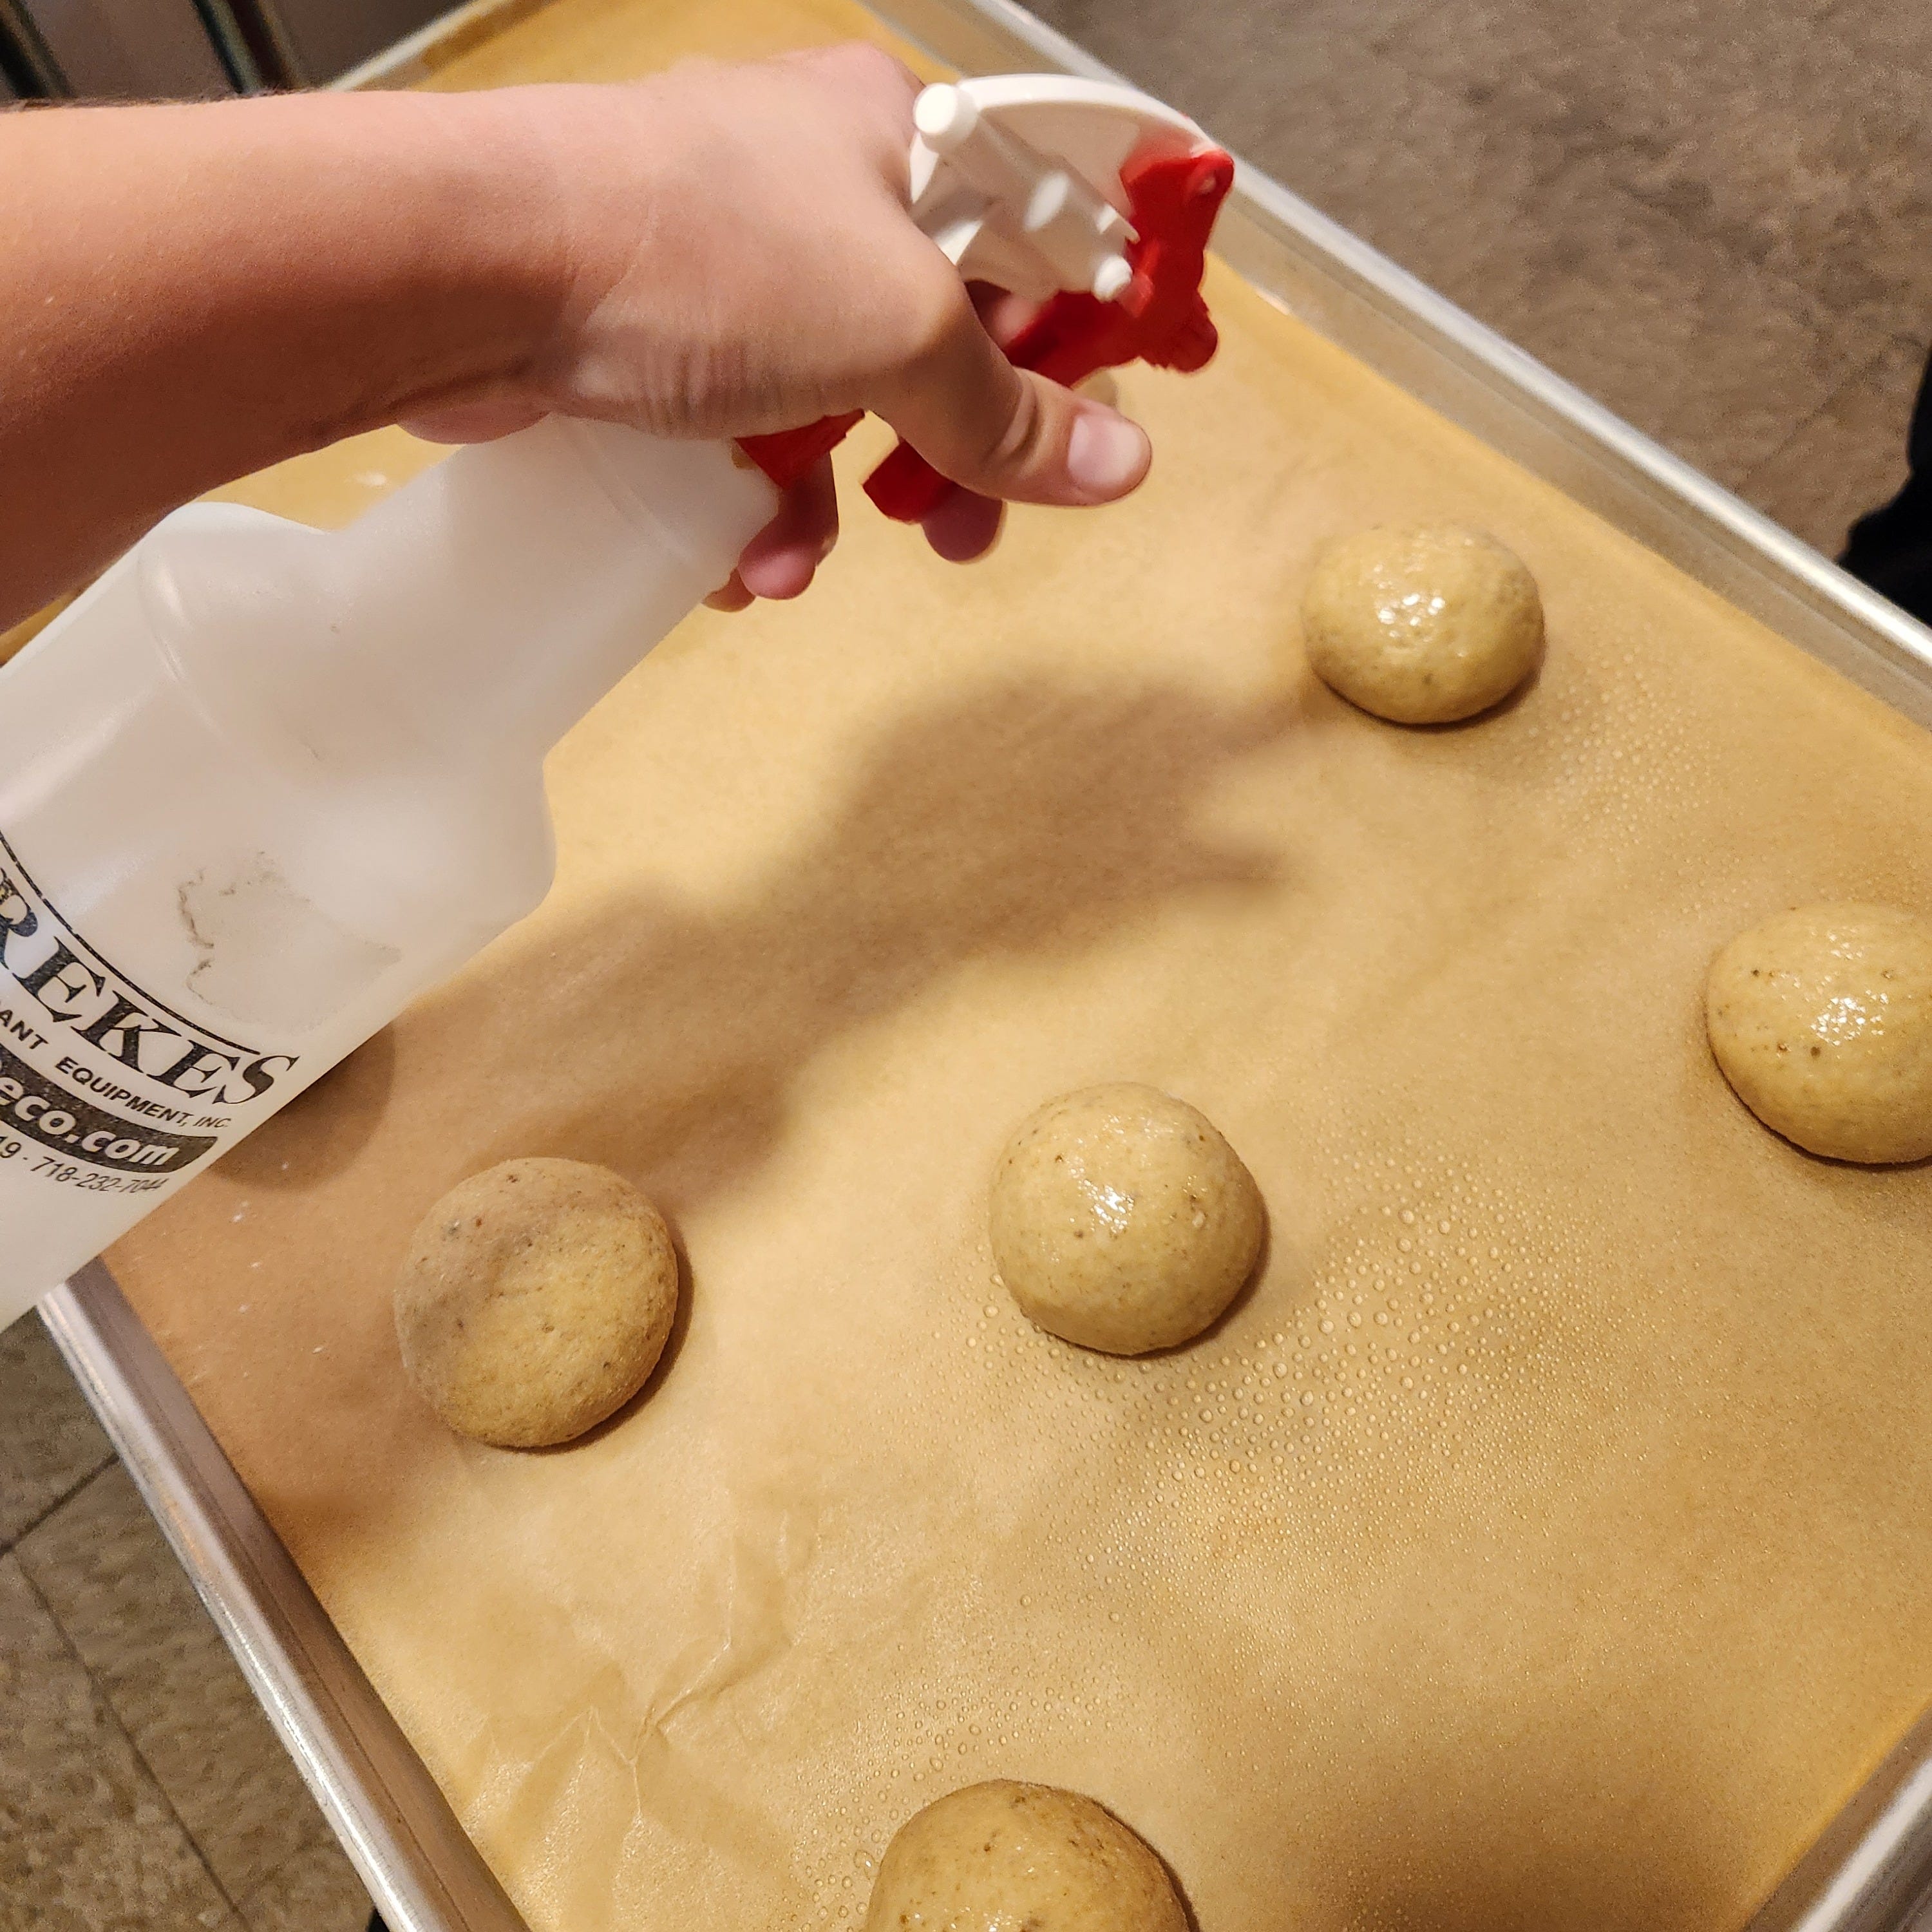
For most bread doughs, ensuring your loaf stays moist for the first few minutes of the bake is crucial to allow it to get the maximum oven spring. Some breads are brushed with an egg wash or other type of glaze right before baking. Others need to be steamed. Professional bread ovens have steam injectors that are high powered and very efficient. However, it’s easy enough for home bakers to achieve the same effect with minimal equipment. If you’ll be baking your loaf in a Dutch oven or other fully enclosed container, the loaf itself will release enough steam to keep its surface moist. If not, simply spray the surface of your loaf heavily with water from a spray bottle right before baking. Adding a tray of water to the bottom of your oven is optional but doesn’t hurt.
This week’s recipe is for Cardamom Spelt Buns, an enriched dough recipe that follows all these baking steps. This is a somewhat advanced full-inclusion bread recipe, but familiarizing yourself with these essential bread baking steps will prepare you for success. Let’s get baking!
This is really interesting