While Tartine’s Chad Robertson probably holds the record for longest bread recipe ever, his 38 page masterpiece is just one example of a very long recipe for bread. Most bread recipes span multiple pages and contain numerous often complicated steps. Even The New York Time’s dramatically shortened adaptation of Robertson’s original recipe is still 13 steps long!
Why are bread recipes so long? Well, because bread is one of the simplest foods out there, consisting of just flour, water, salt, and yeast, the transformation of the ingredients is totally dependent on technique and timing. The shortness of the ingredient list must be compensated for by the length of the instructions.
This week our recipe is for Focaccia, a traditional Italian bread that makes excellent use of durum semolina which we discussed last week. We’ll be using our Focaccia recipe as an example in this blog post to address three key reasons why bread recipes are so complicated.
Why use multiple kinds of flour?
Different types of flour have seriously different attributes. Some absorb more water, and some absorb less. Some have increased enzymatic activity. But when it comes to bread baking, the most important difference is that some are higher in gluten and others are lower. Generally, we look for flours with a high gluten content for bread baking. But even among those with a high gluten content, differences in gluten functionality can radically impact the resulting bread.
You’ll notice that most bread recipes which call for only one type of flour call for a white bread flour. The expectation is that this flour will have been roller milled, possibly bleached, bromated, and/or otherwise enriched, and, most importantly, made from a mixture of different wheat crops which are blended to produce a very consistent product. When flour is this consistent, any recipe can depend on the flour to have maximum functionality.
But when working with stone ground flours that are single-origin in source, there is more variation. Flour milled from grains grown on a single farm is not mixed to achieve consistency, nor is it treated in any way other than simple stone milling. Even the exact same varietal of grain grown on the exact same farm by the same farmer changes dramatically year to year because of different weather conditions. After all, grain crops are just as seasonal as anything else.
One way to overcome the variations in grain performance is to use two types of flour together in bread recipes. This way, we get the benefits of each type of grain, and the benefits from one type often negate any weaknesses of the other.
In our Focaccia recipe, we combine durum semolina with a hard red spring wheat. Durum semolina has a very high gluten content, but the type of gluten it has does not do a good job of capturing air to make bread rise. When we mix our semolina with a hard red spring wheat that functions better at capturing air, this negates semolina’s weakness, allowing its beautiful flavor and texture to shine through while still giving us a light crumb.
Why use multiple starters?
There are many different kinds of starters, and they each have their own strengths and drawbacks. The easiest way to classify starters is based on whether they are built from commercial yeast or wild yeast. Commercial yeast starters are more dependable, but they have less flavor and acidity. Wild yeast starters are full of flavor, but they don’t always perform the way we want them to. By combining different types of starters, and especially by combining commercial yeast starters and wild yeast starters, we get the benefits of both.
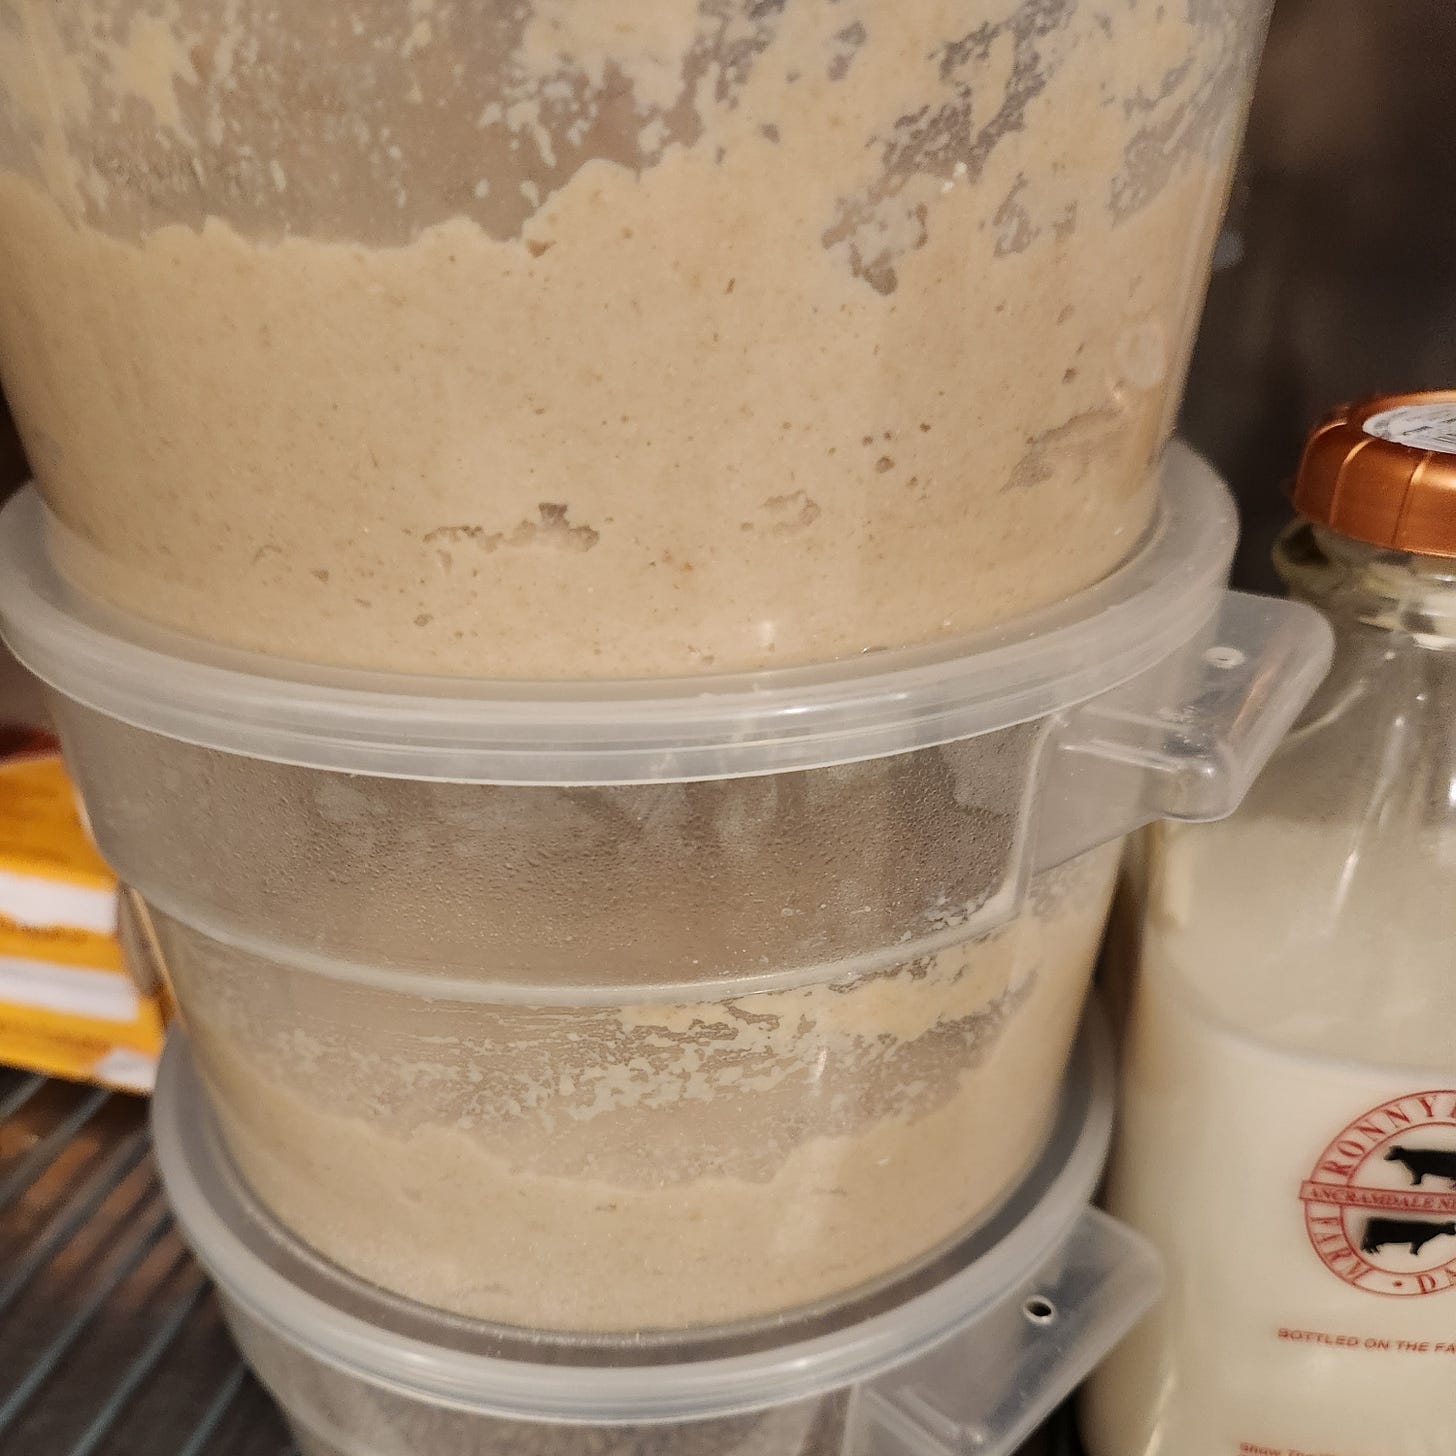
In our Focaccia recipe, we use a wild yeast starter to add flavor, increase acidity, and improve shelf life and digestibility. This is a starter that we feed twice a week and store in the refrigerator. If we fed it daily, it would eventually grow strong enough to be the sole leavener in our Focaccia recipe. However, like many bakers, we’re just too busy to feed a starter every day, and doing so would produce more sourdough discard than we could put to good use.
So, we also use a commercial yeast starter in our Focaccia recipe. This starter we prepare about 14 hours before we plan to mix the final dough, and we let it ferment at room temperature. The shorter fermentation time of this commercial yeast starter means the yeast is still alive when we mix it into the final dough. The yeast continue to work until we bake the Focaccia, and the jump start we gave that portion of dough means that the final dough needs less time to ferment. This commercial yeast starter also adds a depth of flavor to our Focaccia and it helps keep the crumb moist.
Why use folds and extend the fermentation time?
Once a dough is finished mixing, the yeast needs time to digest the starches and sugars and to produce enough carbon dioxide to provide the bread with a light, airy crumb. As frustrating as it can be to wait to bake a loaf of bread, remember that the yeast is the only ingredient that stands between a nice light loaf and a dense brick. You can speed up fermentation slightly by placing the dough in a warm spot, but try to give the yeast the time it needs to do its work.
As the dough sits during fermentation time, the gluten begins to relax. That’s why many bread recipes call for folds withing the first part of the fermentation time. Giving the dough a fold reactivates the gluten network and causes the dough to tighten up again. The final shaping of the dough accomplishes the same thing. It’s important that the folds and shaping are done according to the bread’s schedule. These processes need to fit into the trajectory of fermentation. If the folds and shaping are done too early, the dough will have relaxed too much by the time it gets baked, resulting in a flat loaf. If they’re done too late, the bread will be degassed too late in the fermentation process, and you’ll be removing all the big air bubbles the yeast worked so hard to make.
In our Focaccia recipe, we fold the dough half an hour into the bulk fermentation stage. This causes the dough to tighten up again, meaning that when we go to shape it an hour later, it will be strong enough to stand up to our shaping. Focaccia dough like ours needs to hold up while we stretch it evenly into every corner of the pan. The final shaping is not a gentle process, but our Focaccia dough can take it!
We’re so excited to share our Focaccia recipe with you this week because it’s a very beginner-friendly bread. Since it’s baked in a pan, it doesn’t need the same level of precision that free-form doughs require. The combination of two types of flour makes the recipe almost fool-proof, even for home bakers who are new to working with full-inclusion flours. And, the two types of starters give you the best chance of success. Let’s get baking!


I love your detailed yet clear explanations!