


The Full-Inclusion Kitchen: Essential Techniques
How to Adapt Your Favorite Recipes to Full-Inclusion Flour

Converting bread and pastry recipes to full-inclusion flour is quite easy. There are just two steps to the process. First, we need to change the white flour to full-inclusion flour. Second, we need to “shore up” the recipe using good baking practices to compensate for any variation the full-inclusion flour may cause. Full-inclusion flour is just more complicated than white flour, between the presence of the bran, the additional enzymatic activity, how it was milled, and more. But, by just being a little more careful with our technique, we can make any full-inclusion flour recipe successful.
From White Flour to Full-Inclusion
To replace the white flour in a recipe, first, a decision needs to be made about which grain, or grains, to use. Generally, soft white winter wheats are best for pastry recipes, and hard red spring wheats are best for breads. But, there are other types of wheat out there. We recently used a hard red winter wheat to make some Chocolate Hazelnut Babka, and we were surprised and impressed by its excellent performance. You can read more about wheat varieties here.
It's also possible to use a combination of wheat and other grains, such as Spelt or Rye. Generally, you can get away with using 100% alternative grains in cookies, 50% alternative grains in cakes (for example, if a recipe calls for 100 grams of flour, you can use 50 grams of wheat flour and 50 grams of rye), and about 25% alternative grains in breads. These are rough estimates of course, but they should point you in the right direction.
Finally, if you’re milling your own flour, you’ll also need to decide how fine you want your flour to be. Generally, hard wheats need to be milled on the tightest setting for bread, and soft wheats can be milled on a medium-tight setting (which is one bump out on our Mockmill) for pastry. Read more about milling here.
Using a recipe that measures the flour by weight is very important. For one thing, if you’re milling your own flour, you’ll be weighing the wheat berries before you mill them. For another, regardless of if you’re milling your own flour or using pre-milled flour, the volume measurements will be off because of the amount of bran present.
If the recipe you are working with does not list the flour measurement by weight, do that conversion first using the white flour measurement as the baseline. Your cookbook may have a conversion chart, and if so, use that. Depending on what source you reference, 1 cup of white flour may weigh anywhere from 120 to over 140 grams. So hopefully your cookbook will tell you what those particular authors think 1 cup of white flour weighs, as it does vary. If not, start somewhere in the middle, like 130 grams per cup of white flour.
For example, if your pancake recipe calls for 1 ½ cups of white flour, multiply 130 by 1.5 to get 195 grams. Use 195 grams of full-inclusion flour in your recipe, and be sure to write down what you did. If your batter is a bit runny, make a note that next time you will use 205 grams, and keep tweaking until you find the correct weight. The good news is that, once you do, you’ll have a lot more freedom to play around with other types of flour, as your weight measurement will always be more accurate.
Strengthening Your Recipe
The best way to strengthen your recipe is to convert more of your ingredients to weight measurements. This will help you in both bread and pastry recipes, and it’s really easy to do. The most important step is, of course, to write down the weights so you have them available every time you bake that recipe.
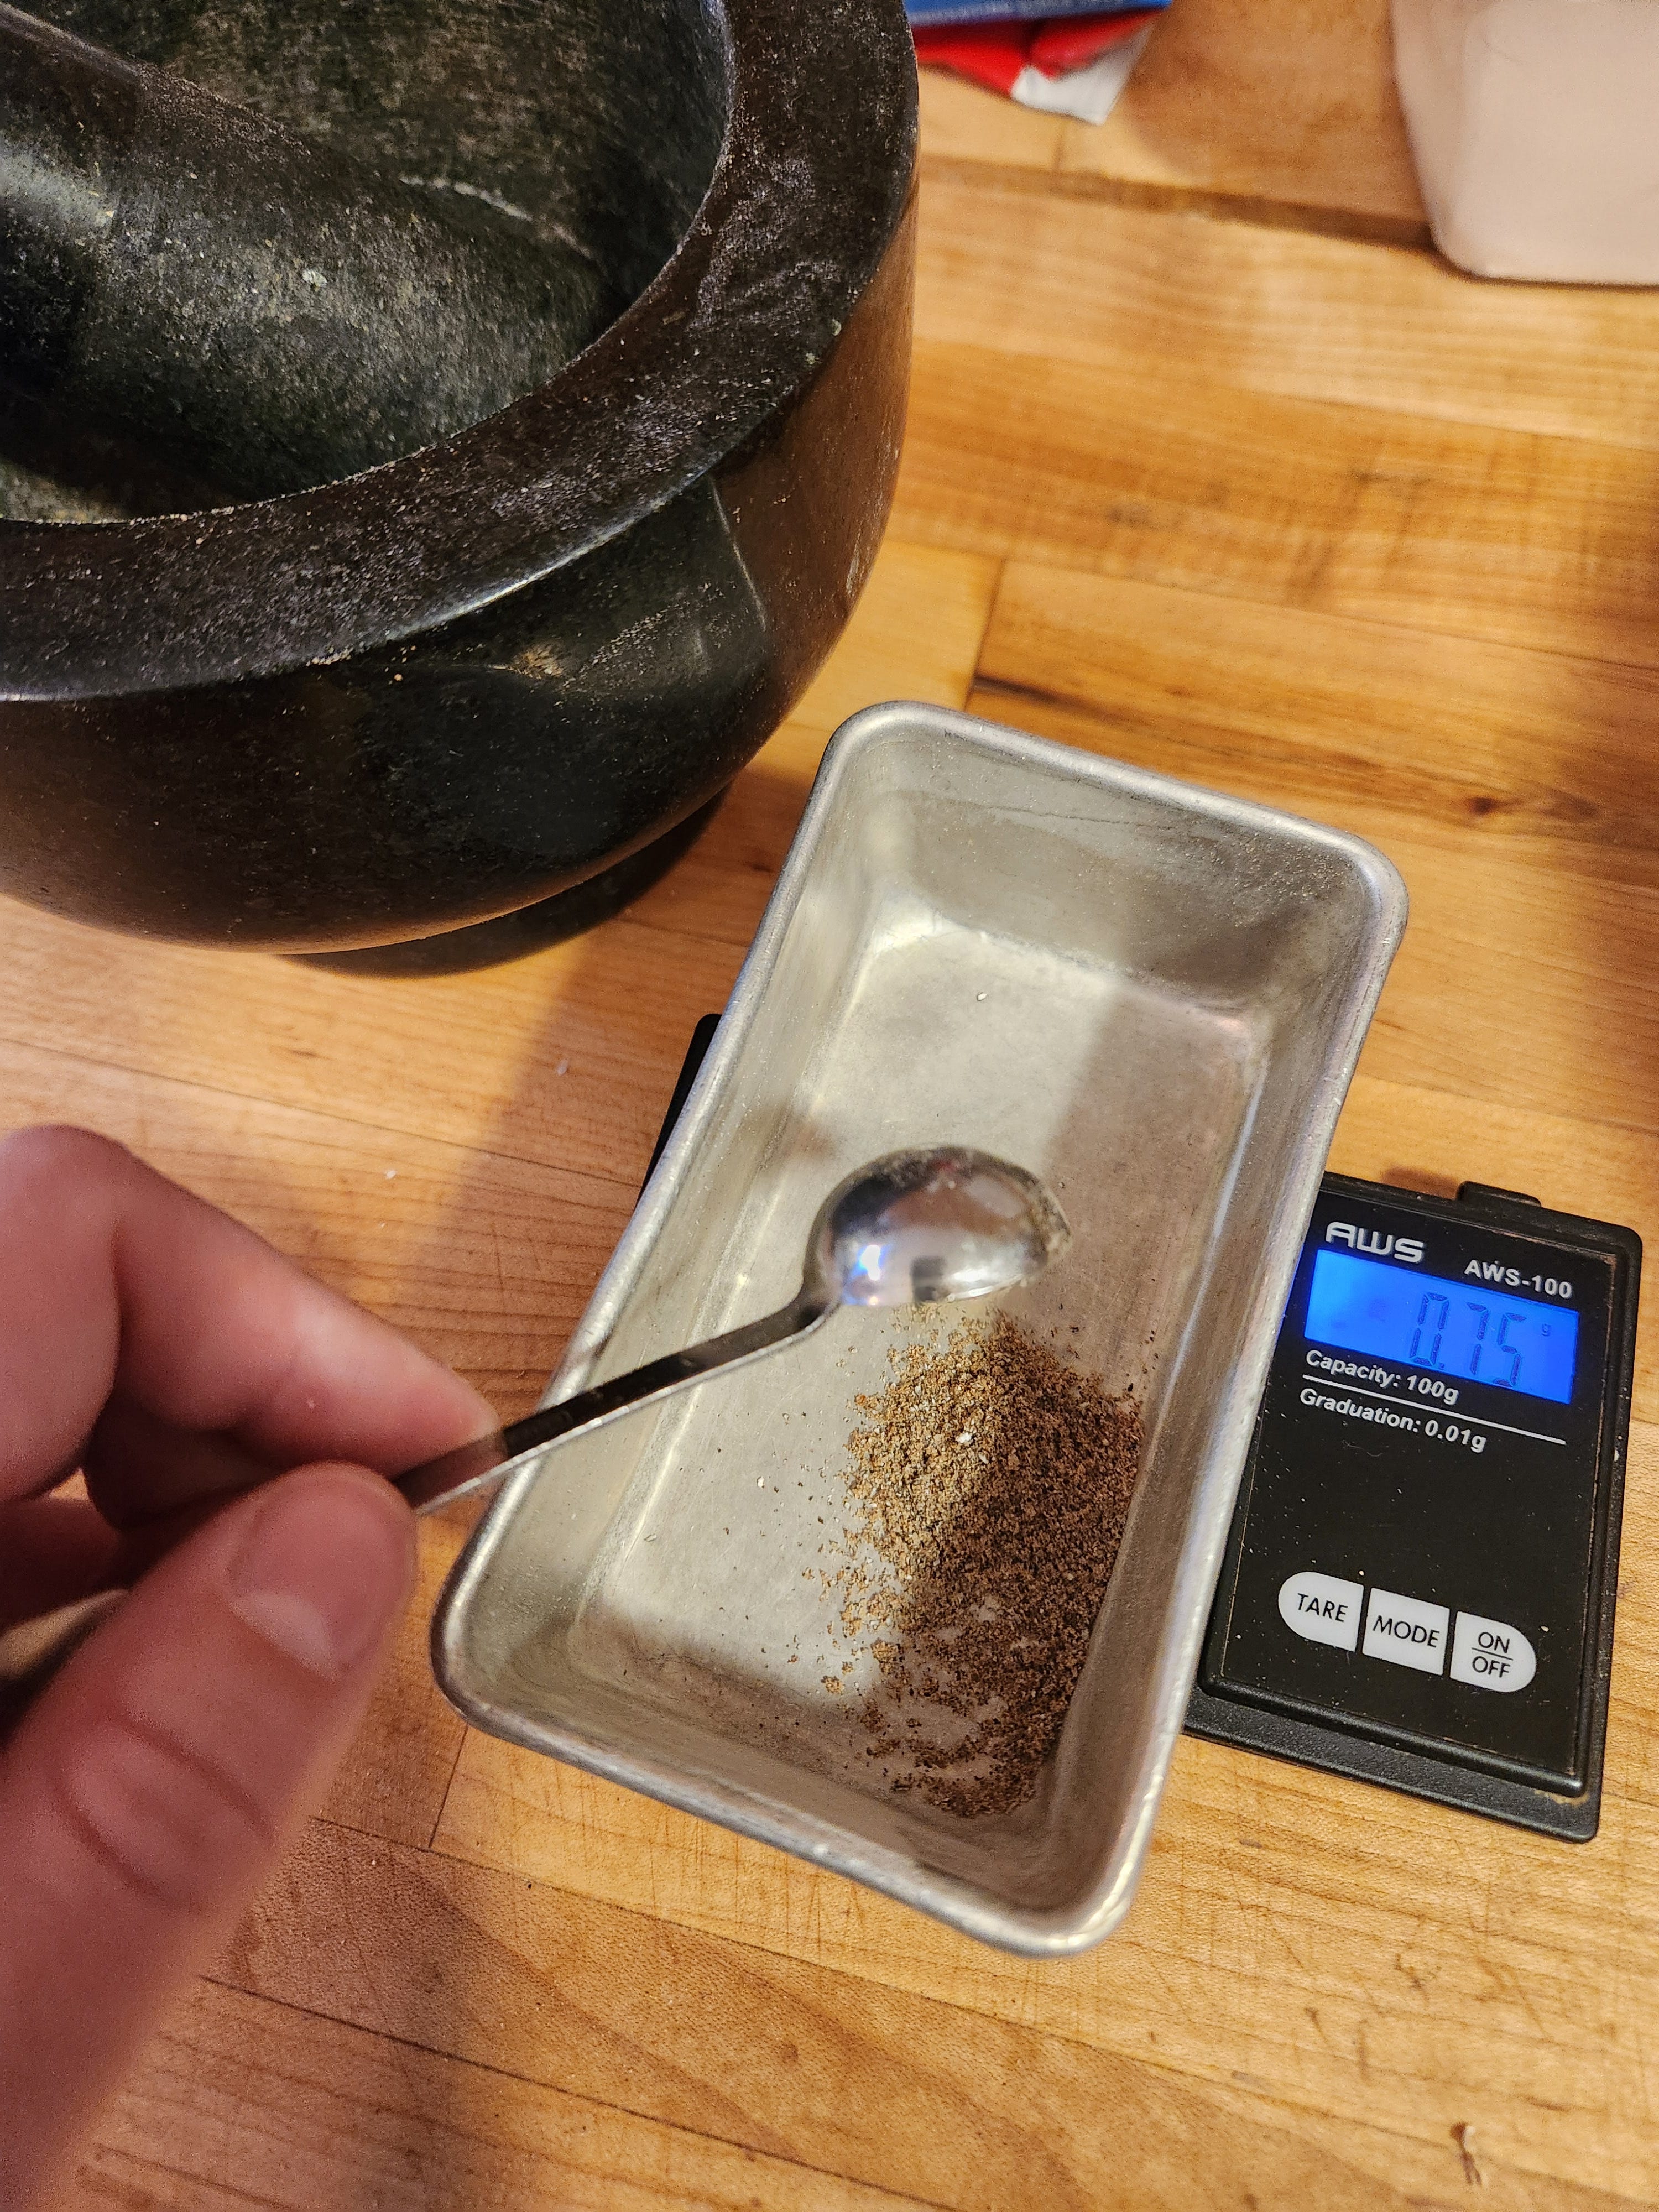
Just as flour weights can vary, other ingredient weights can vary, too. It’s a good practice to convert the entire recipe to grams, and once you do, you’ll be able to make it more accurately every time. Ingredient charts can be helpful, but there is often a bit of variation in how big cup and teaspoon scoops are. If you’ve always made a recipe by scooping out 1 tsp of cinnamon, the goal is to figure out how much your 1 tsp of cinnamon weights, not to base your recipe on some “standard” that may not be standard at all. The way to do this is to simply measure each ingredient as you normally do, but then weigh it as you’re adding it to the mixing bowl, and write down the weight. When we do this process, we generally give ourselves a bit of liberty to round to a simpler number. For example, if we find that ¾ cup canola oil weighs 158 grams, we’ll round that number to 160.
How much of your recipe you want to convert to weight measurements is up to you. If you don’t have a tiny scale to track the weights of smaller quantities of ingredients, feel free to leave the teaspoon measurements as scoops. Or, if your favorite cookie recipe calls for 1 tsp of cinnamon and you just feel it’s easier to scoop out your cinnamon with a teaspoon rather than trying to weigh it, that’s totally fine! Just know that the more ingredients you convert to weight measurements, the more accurate you’ll be making your recipe in the future.
Converting your ingredient quantities to weights is helpful for both bread and pastry. Here are a few other ways to “shore up” your recipe that are more specific to what you’re making.
Bread Techniques
When converting a bread recipe to full-inclusion flour, the main consideration is how to compensate for the presence of the bran. Remember, bran tends to cut the gluten strands as they are developing, so getting the same strength in your dough requires a bit more technique. Here are a few easy changes you can make.
Preferment a portion of the dough in a commercial yeast starter. Or, if you have a wild yeast starter, even better. Why not use multiple preferments? The increased acidity of the long-fermented starter causes the gluten to seize up, tightening the gluten structure, and all the portions of flour you expose to water earlier on will be better hydrated.
Use an autolyze. An autolyze of 15 to 30 minutes allows the bran to hydrate, making it less sharp and less able to inflict damage on the gluten strands during mixing.
Do several folds. Mixing exposes the gluten strands to the bran. Folding does not. Fold early, and fold often.
Bulk ferment the final dough in cold storage. This allows the flour to fully hydrate before shaping. The extra acidity helps, too.
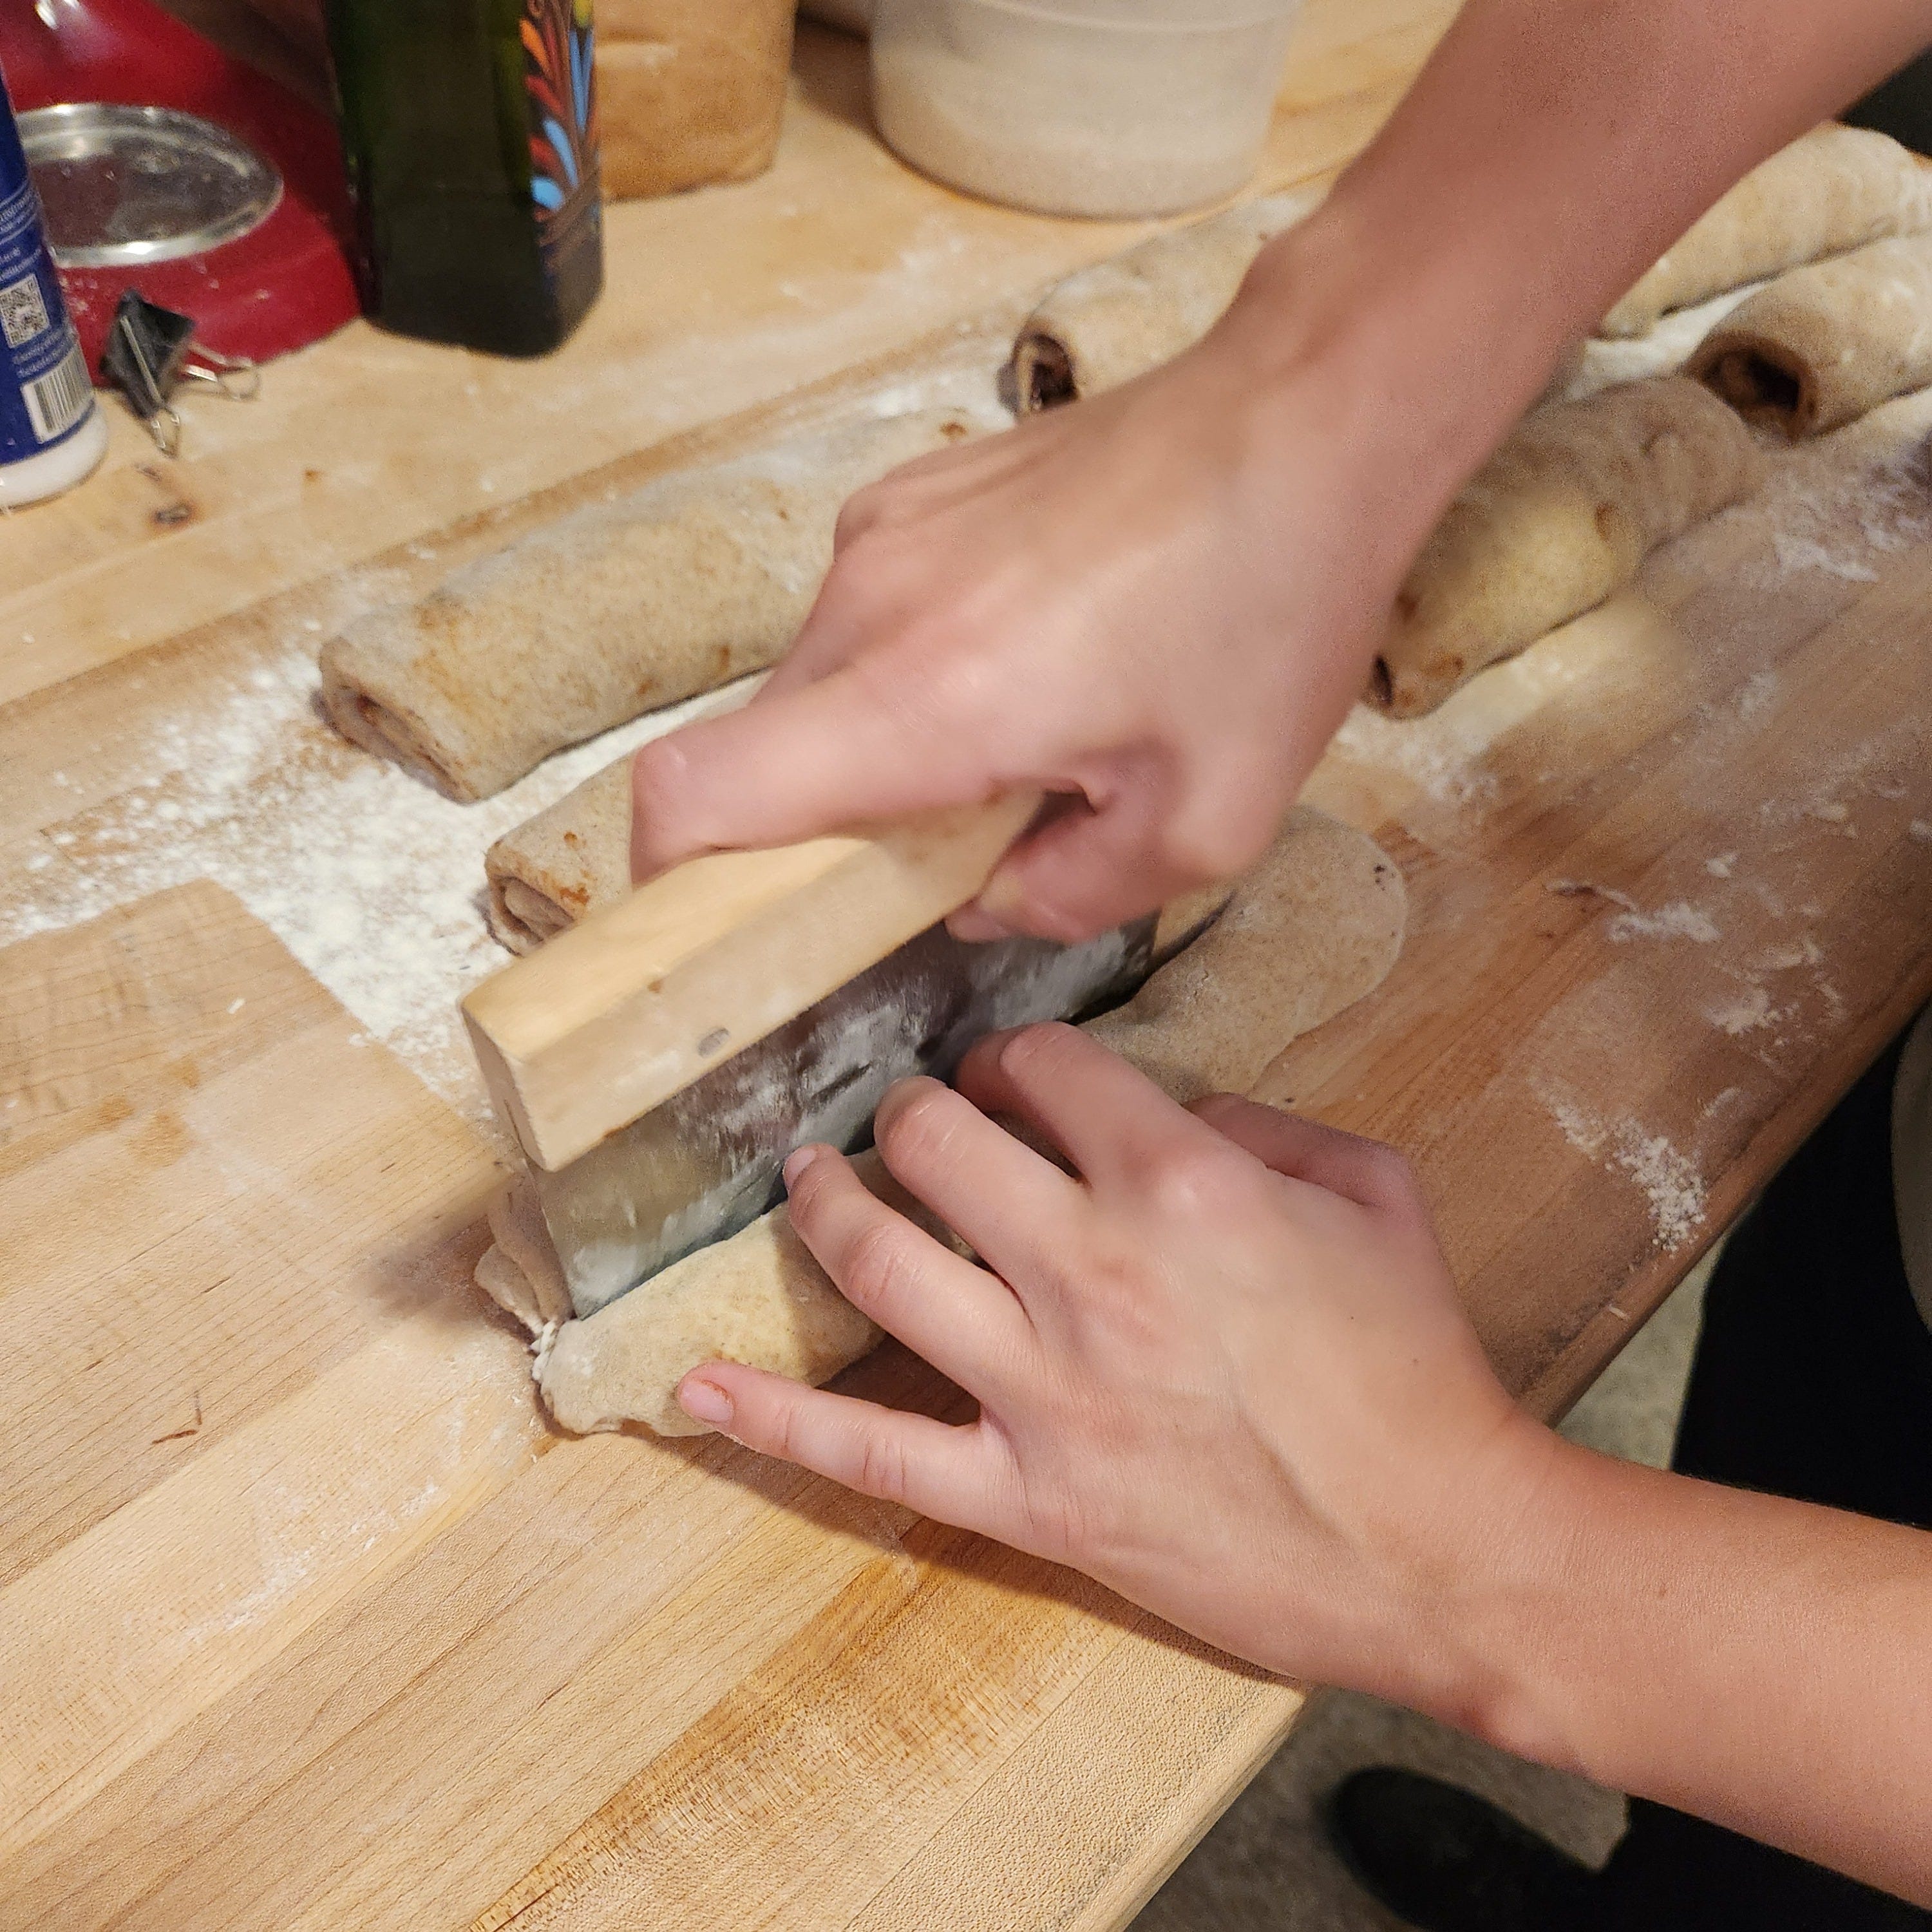
Preshape. Don’t rush to the final shape. Preshape the dough first, then let it rest a few minutes before going in for the final shape.
Use a bench scraper often. Full-inclusion dough is more likely to stick to the table. Instead of ripping it by tugging, use your bench scraper to loosen it whenever needed.
Pastry Techniques
When converting a pastry recipe to full-inclusion flour, the most important technical consideration is knowing where in your recipe you can pause. There are certain chemical reactions that, once begun, you need to see through. Having a sense of when a component can be set aside for a few minutes, and when another cannot, makes a huge difference in ensuring the structural integrity of your recipe.
The first step of any pastry recipe is to grease your pan and/or line it with parchment paper. If you’ll be baking your pastry right away, preheating the oven is also a first step. When milling your own flour, we add one more step to that list, which is weighing your grain, chilling it in the refrigerator or freezer, and milling it. If you store your grain in the freezer, you can run it through the mill immediately. If not, chilling your grain beforehand will help ensure your mill does not overheat. Oftentimes, in our bakery, we’ll first weigh the grain and refrigerate it, and then we’ll continue with the recipe. By the time we need the flour, the grain is cool enough to be milled.
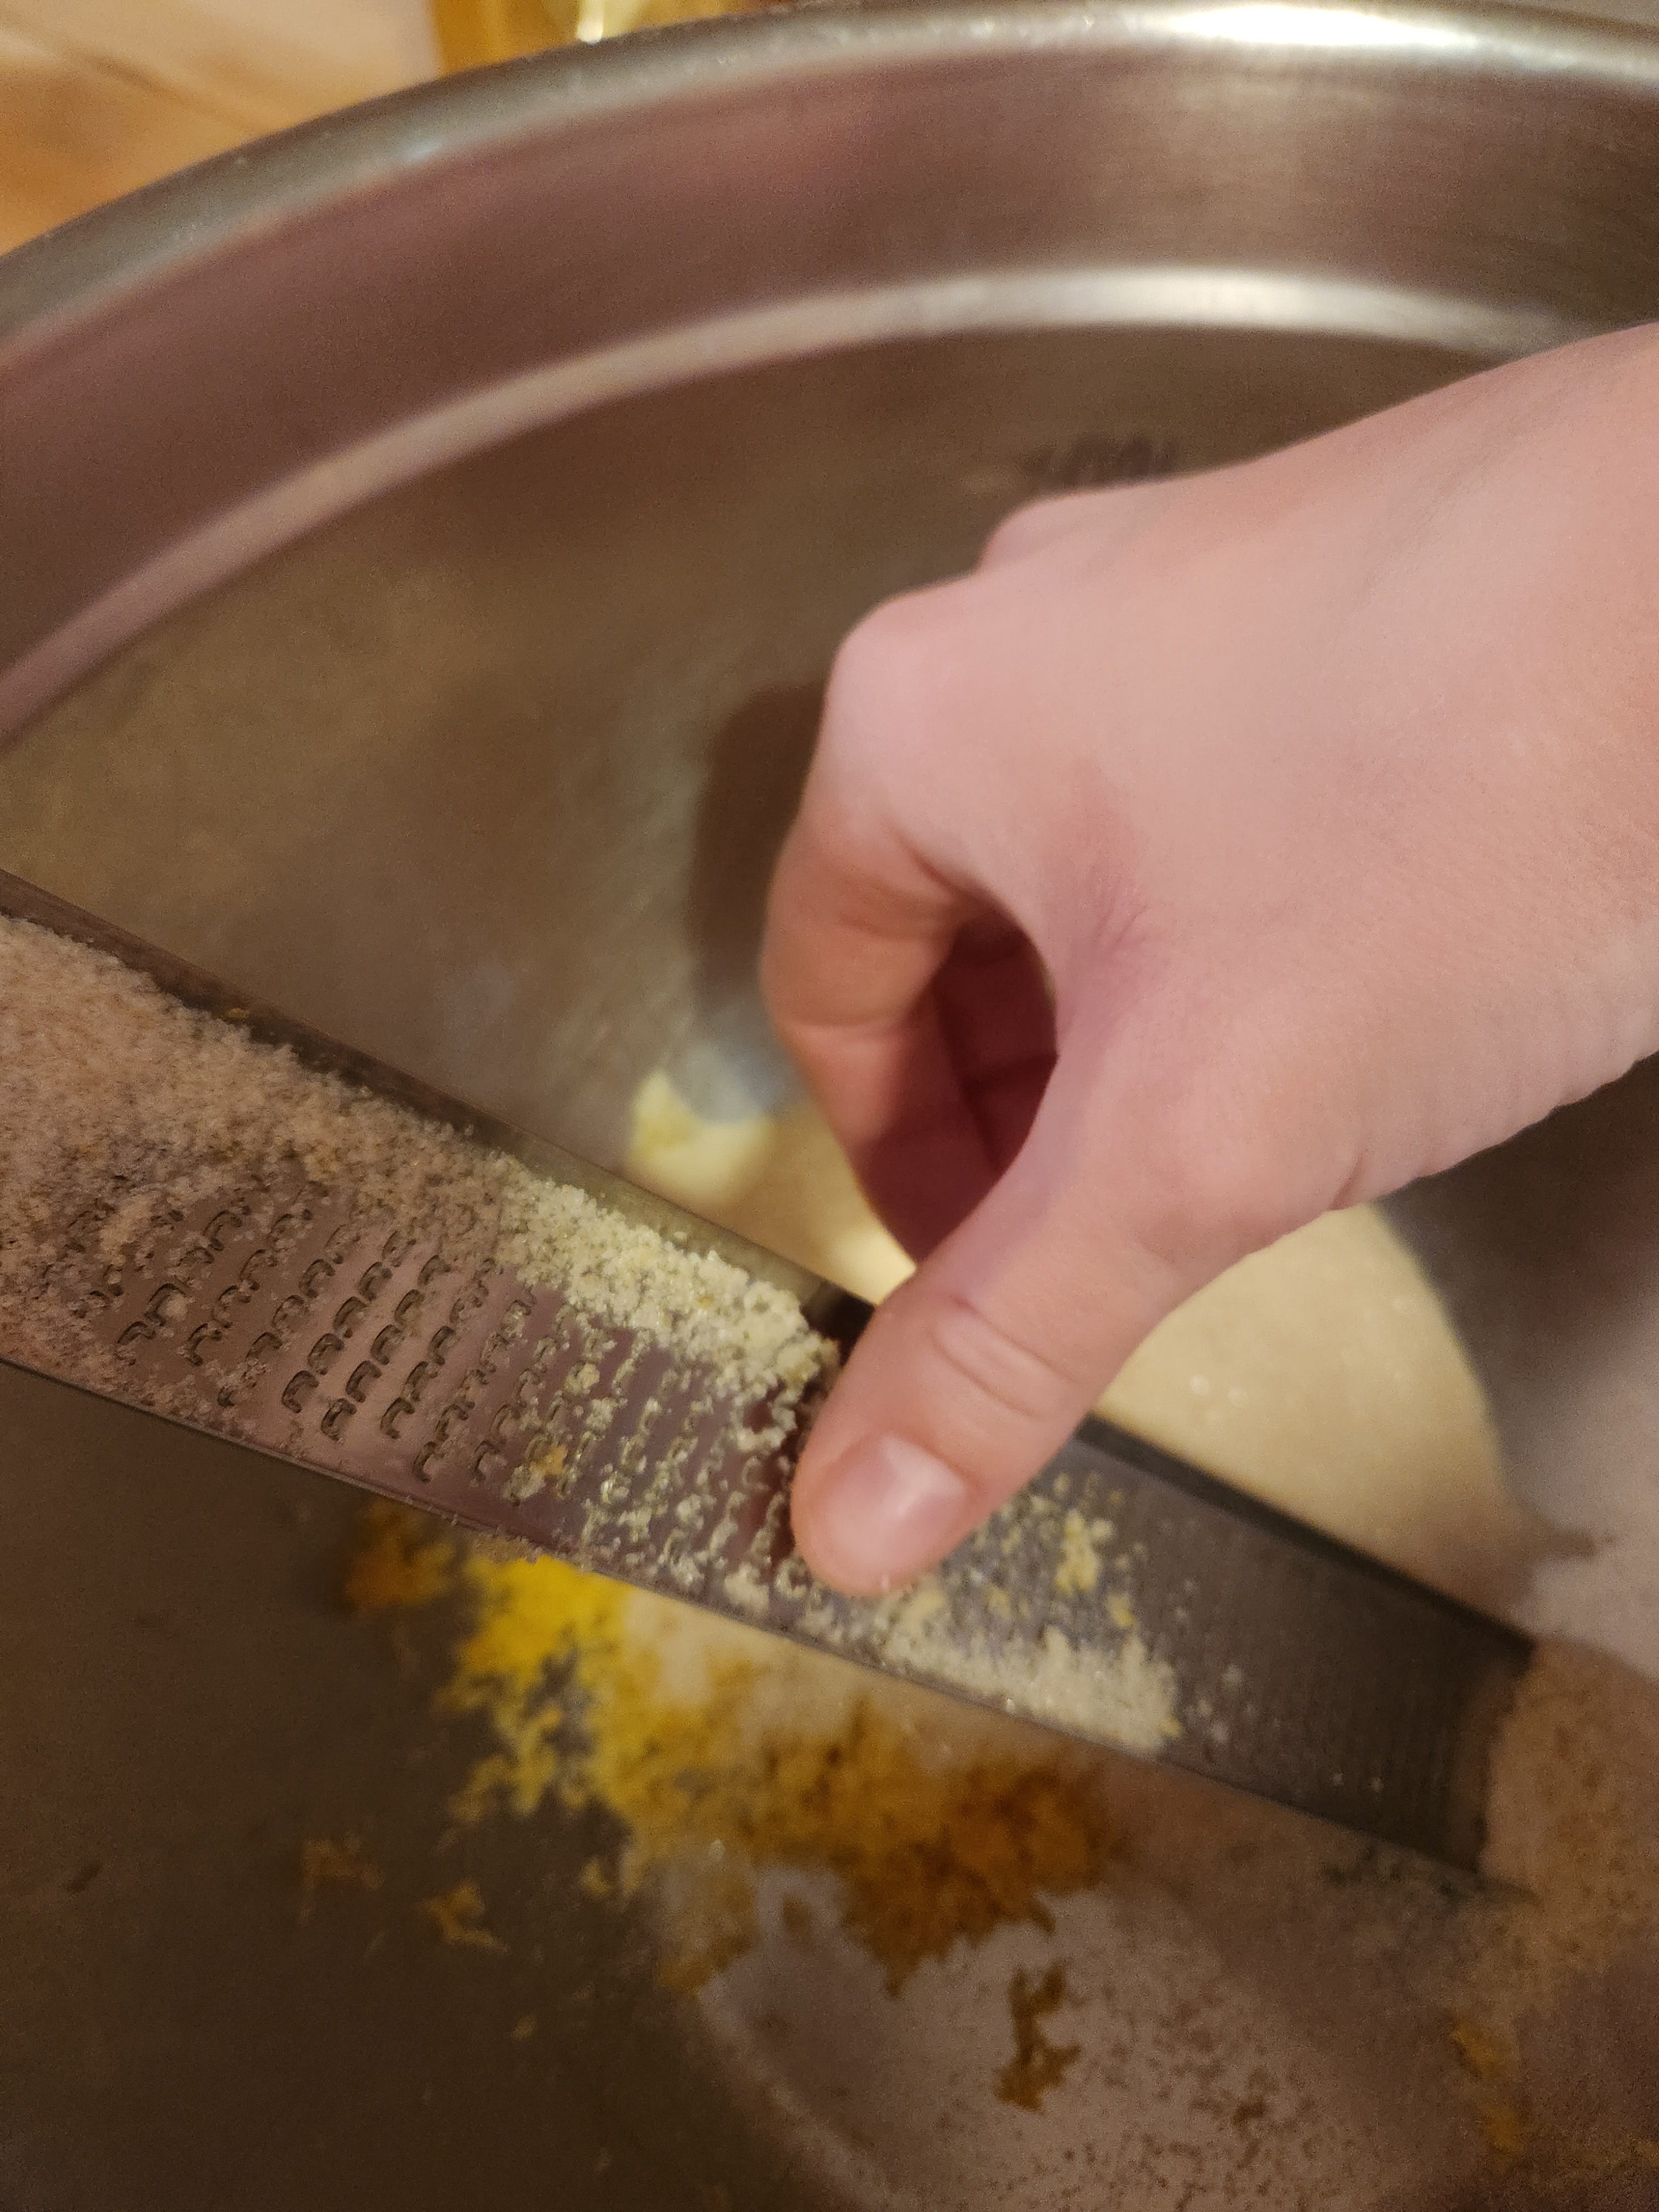
This next tip has nothing to do with full-inclusion flour, but it’s too good not to share. If a recipe calls for citrus zest, it usually calls for it in the same step as adding the sugar. There’s a reason for that. One of the greatest pastry tricks out there is to use the sugar (after you’ve weighed it, of course) to absorb the oils left behind on your microplane or zester. If you’ve zested onto a piece of parchment paper, you can even use the sugar to pick up oils there too. Most of the fresh citrus flavor is in the oil, so getting it all into your recipe really makes the flavor pop.
One place in a recipe where you can never pause is once you’ve added the eggs to the sugar. If left alone, the sugar will draw out the moisture of your eggs in places, and you’ll be left with hard egg clumps. As soon as you add the eggs to your sugar mixture, combine them thoroughly. After you’ve spent a minute whisking or stirring, you can set this mixture aside for quite a while. Just be sure to whisk or stir it once more before using, as the sugar will settle.
Similar to sugar, salt and eggs also have a complicated relationship. Salt will break down the protein structure in eggs, turning them into a thin, watery liquid. For egg washing a loaf of Challah bread, this watery consistency is ideal. But, if you’re relying on the protein structure of your eggs to provide lift and stability, you don’t want to introduce the salt to your egg mixture any sooner than necessary. For this reason, in full-inclusion baking, we usually add the salt in with the dries.
One of the final steps in many recipes is combining the wets and dries, and this is another place where pausing is problematic. If you do not stir immediately, your dry ingredients will clump up, and you’ll end up needing to over mix the batter. If you’re making a cake or muffing recipe, or really anything else that goes into a pan, once the batter is mixed, go ahead a pour it straight into your prepared pan. You want all the chemical leaveners, such as the baking powder and baking soda, to do their lifting after your batter has been agitated for the last time. Once your batter is in the pan, it can sit for several minutes before going into the oven, and allowing a few minutes for the bran to soak up the liquid in your recipe can actually be really helpful.
A Few Final Thoughts
When converting your favorite recipes to full-inclusion flour, don’t make too many changes at once. First, simply change the flour, and make note of the weights of the other ingredients. Make sure you’re using good baking practices, and you should be quite successful. You may find, for example, that the stronger flavored flour means you don’t taste your spices as much. If you decide to increase them the next time, you’ll be empowered to do so. Just write down everything you do!
This week’s recipe is for Morning Glory Cake from Yossy Arefi’s fantastic book, Snacking Cakes. This book is full of excellent recipes that are easy to convert to full-inclusion flour, and we’ve baked many of them over the years. In the spirit of learning together, we chose the Morning Glory Cake recipe since we had never baked it before, and since our local farmer’s market is overflowing with beautiful apples and carrots right now. Yossy has graciously given us permission to share her original recipe and discuss how we adapted it to full-inclusion flour. Let’s get baking!
You always provide so much info. Maybe there's a cookbook in your future???