


Milling Your Own Flour Part 2: The Steps
A Simple Process

This blog post is the second in our series about milling your own flour. In our first post, we discussed why home-milling gives you the best flour possible and what to look for when purchasing a flour mill. This week, we’re covering the actual process of milling flour at home. Even if you don’t have a flour mill or aren’t interested in milling, this blog post still contains helpful information about the milling process which can be really helpful when purchasing flour from your local miller.
Step 1: Prepare Your Mill
Each brand and model of tabletop stone mill is slightly different, but the initial steps are pretty much the same. First, learn how the mill works. Most mills consist of only two settings: an on/off switch and a moving bar or other mechanism that sets the width of the space between the mill stones. On some mills, the bar simply moves back and forth. On others, you can twist the handle of the bar to adjust the settings further.
When the machine is off, the mill stone width should always be at the maximum setting, meaning the stones should be as far apart as possible. This accomplishes three things. First, it allows air to travel between the stones and cool them down more quickly. Second, it means the mill stones will not be touching, and minimizing contact reduces wear and preserves them for longer. Third, it ensures that when you turn the machine on, there will be no friction initially which minimizes the risk of damage to the motor.
Starting with the machine off and the stone width at the maximum setting, flip the switch to turn the machine on. Then, slowly pull the bar inwards to bring the stones closer together. When you’re finished milling, reverse these steps to turn the machine off; pull the bar back to the maximum setting, and then flip the off switch.
The second step of preparing your mill is to run some grain through it to gather any dust or loose pieces of stone. This grain will need to be discarded, so don’t use anything you’ll be sad throwing straight into the compost. Dried white rice is perfect for this task, and you’ll only need to mill about a half cup to be sure your mill is dust-free.
Be sure to read the specific instructions that come with your mill. When you purchase a new tabletop stone mill, the manufacturer will provide a guide on how to use it properly. If you buy one second hand or simply lost the instructions, you can always google the specific model and find the instructions on the manufacturer’s website.
Step 2: Weigh Your Berries
Because everything you put in the top of your mill comes out the bottom, there really isn’t any loss at all. That means that rather than weighing flour, we can weigh the berries directly and just trust that the milled flour will be the same weight.
At our bakery, weighing our berries is our first step of every recipe we make, and it only takes a few seconds. When we weigh berries for a couple recipes at the same time, we use a piece of masking tape and a marker to label each container with the berry type and weight.
Step 3: Freeze or Chill The Berries
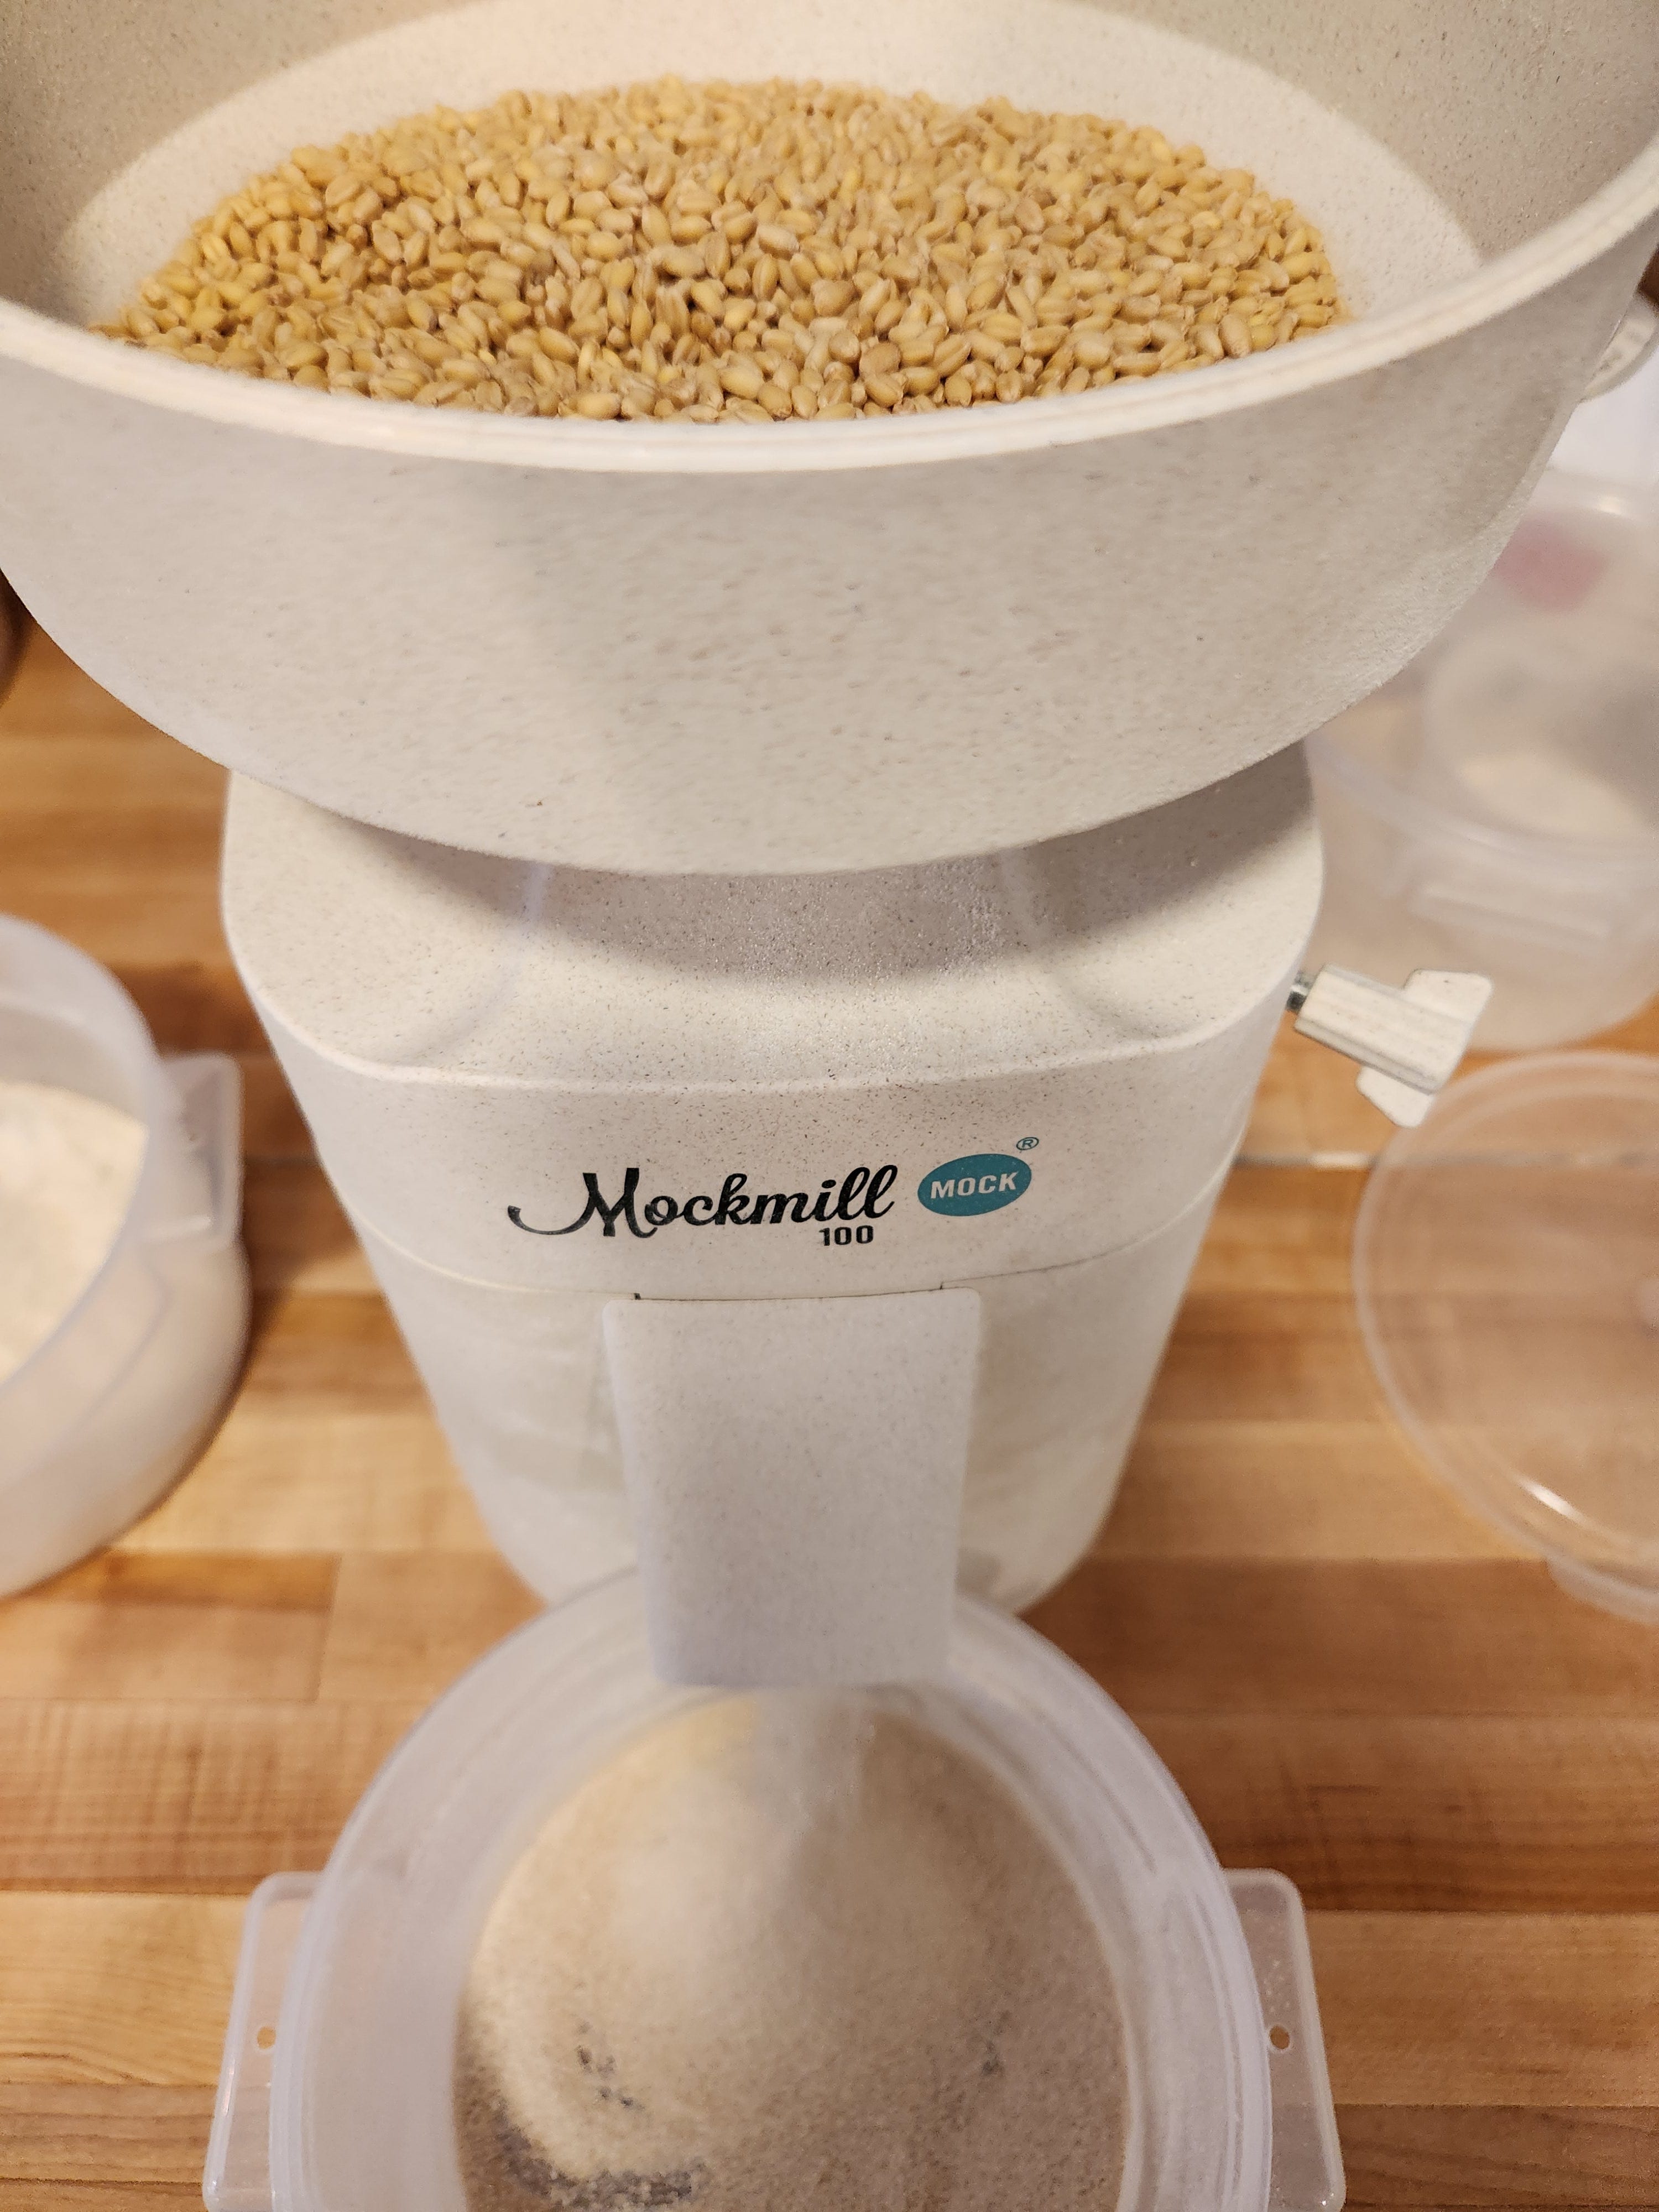
Tabletop stone mills heat up quickly from the friction of milling. If you freeze or chill the berries before you mill them, the cold berries will counteract the heat of the friction to a very large extent, meaning you can mill more grain before your machine overheats. Bigger mills and higher-end tabletop mills have devices which help cool the stones during use. These are helpful but not necessary. On our Mockmill 100, we can mill over a kilogram of chilled wheat berries before our mill begins to get too hot.
To freeze or chill your berries, first put them in an airtight container or bag. Refrigerators and freezers are often filled with moist air, and you want to ensure that your berries will be dry when you mill them. Then, stick them in a safe place in your freezer, or in your refrigerator if your freezer is full. Your berries are ready as soon as they are cold to the touch.
Step 4: Mill The Berries
When working with your tabletop stone mill, you want to be careful to not leave it running much longer than necessary. Even if you’re not actively milling anything, your machine can still heat up, and the friction of the moving stones can wear them down. So have everything you need ready to go before you begin, and work quickly.
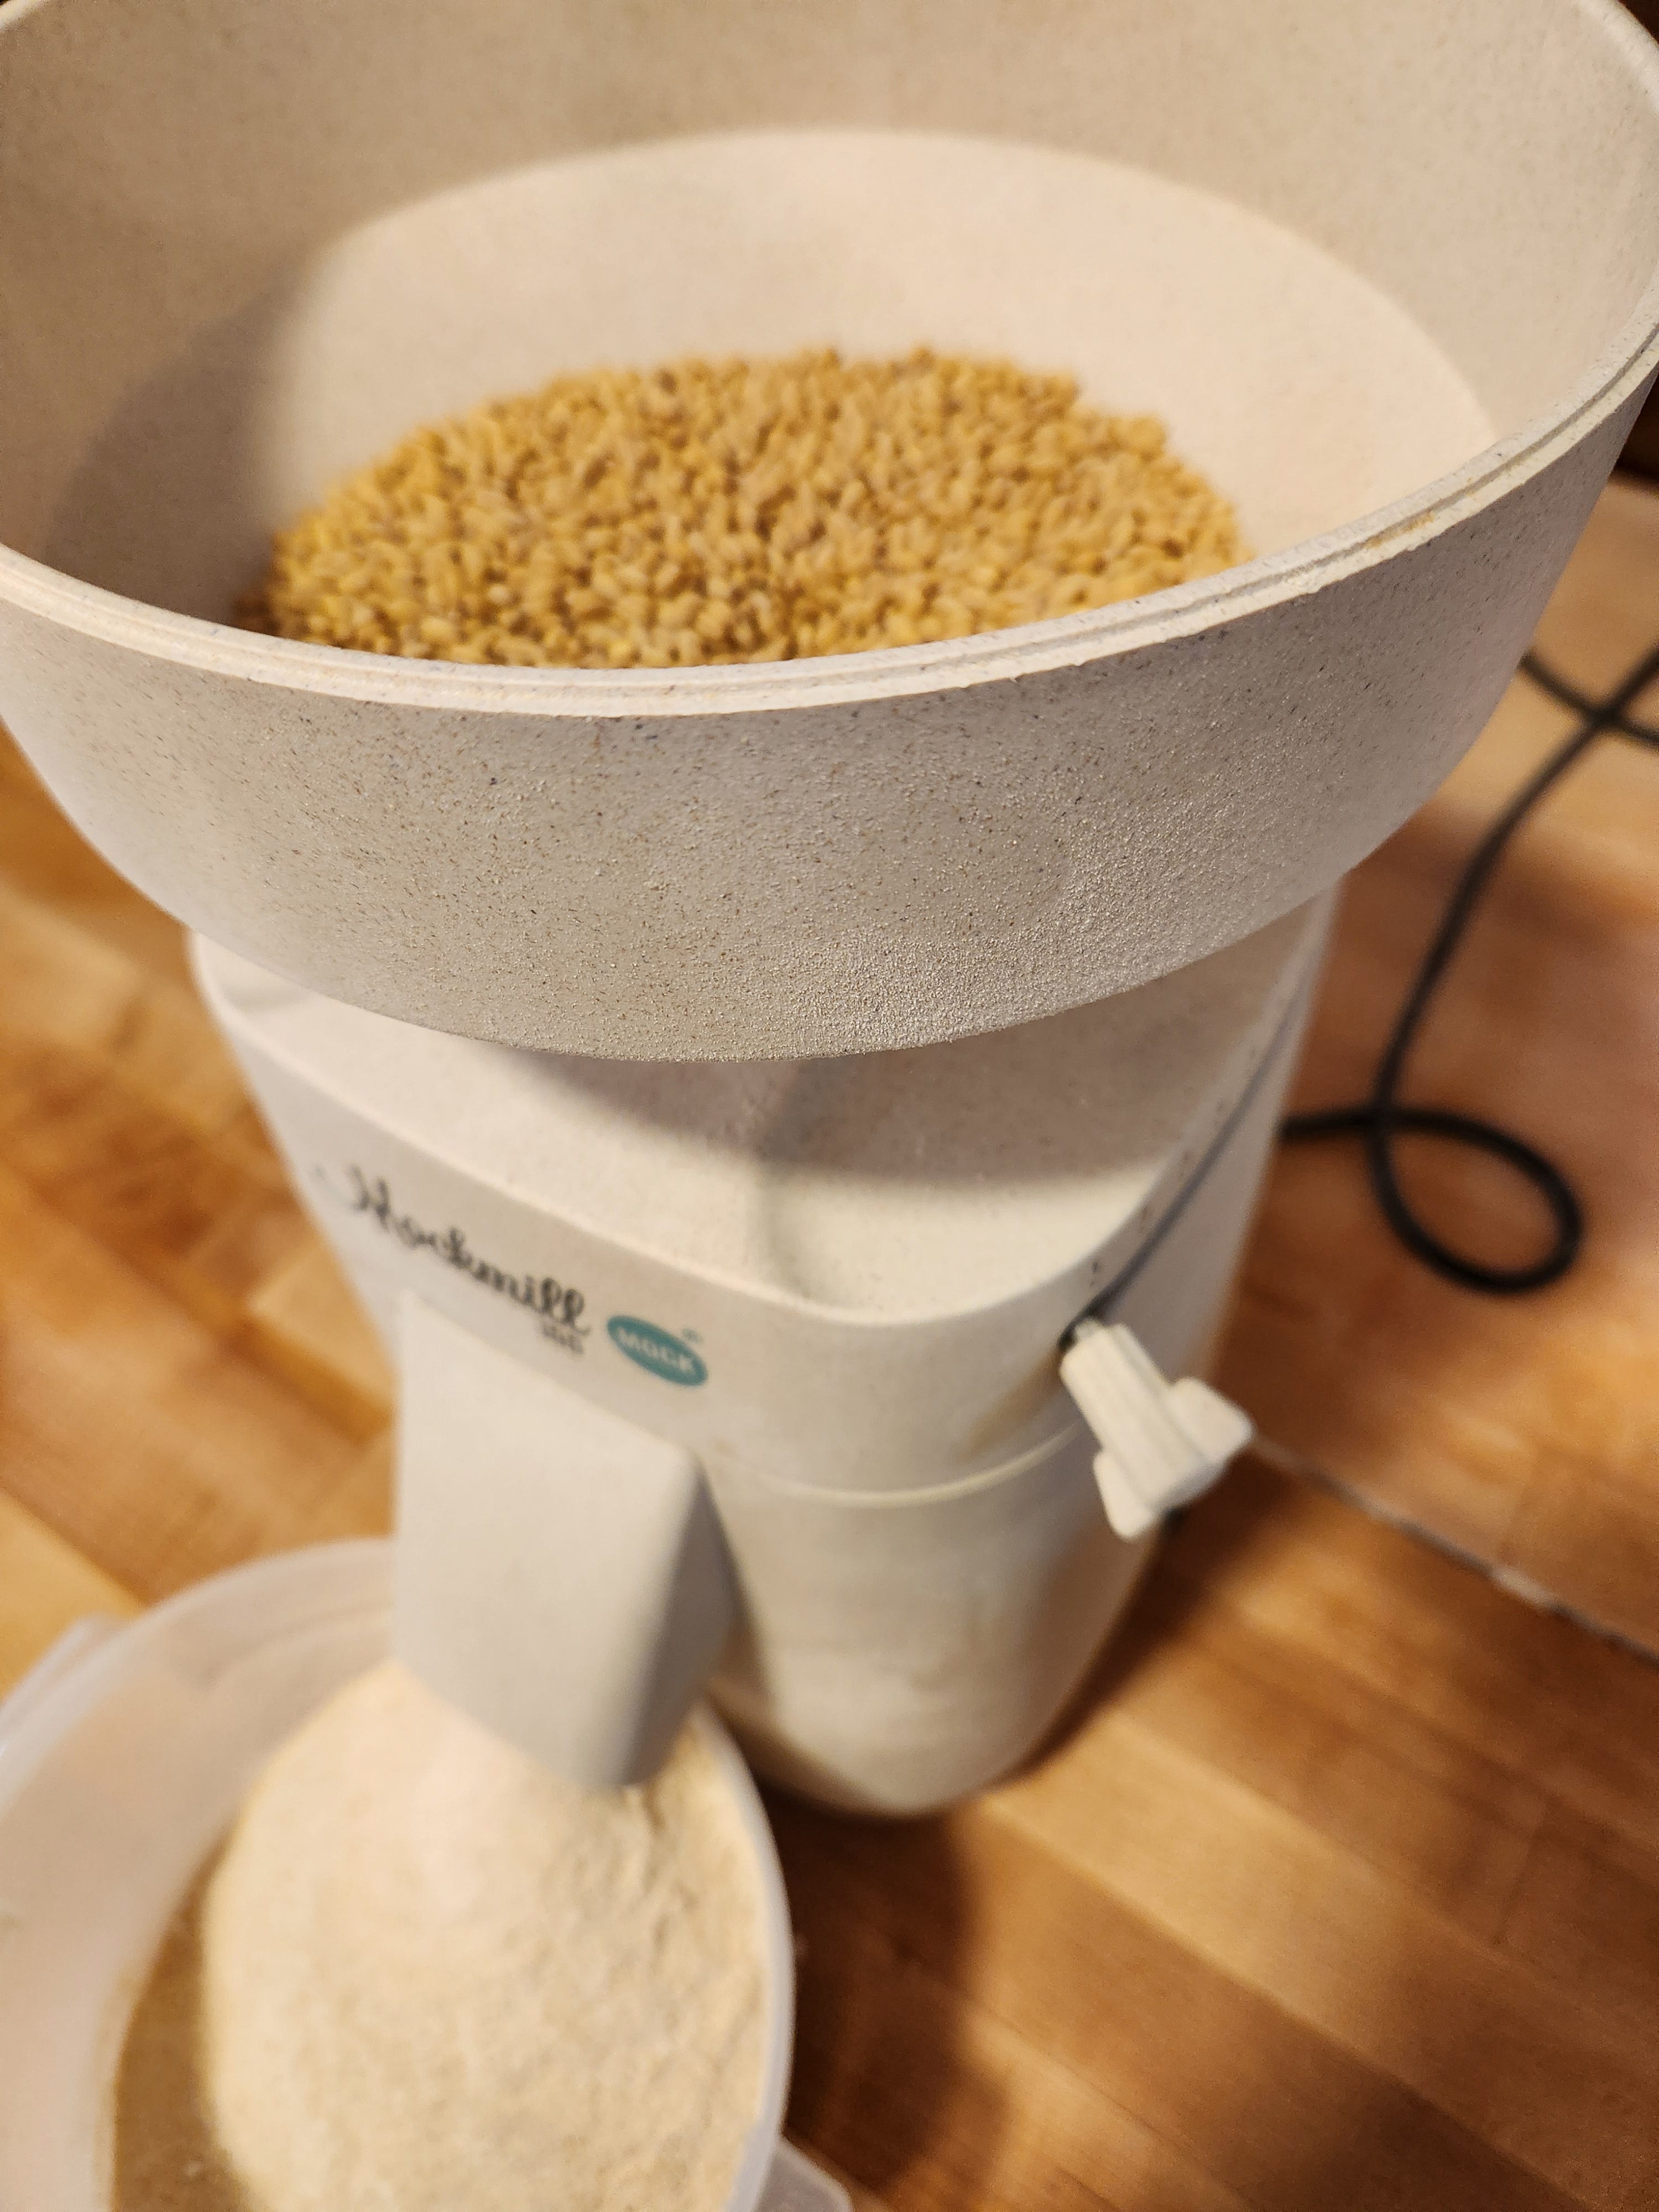
Turn your tabletop stone mill on. Then, slowly pull the width setting bar towards yourself to adjust it to the tightest setting. If you want to mill on the tightest setting, keep the bar there. If you want to mill on a slightly looser setting, pull the width setting bar backwards and count the notches. In our recipes, we denote one notch out as a “medium-tight setting.” Different machines have different ways of measuring tightness, and getting used to your specific machine will take a bit of trial and error. To know if you’re on the right track, simply rub some of the milled flour between your fingertips and see how it feels. If it’s too course, you can always run it through your mill again on a tighter setting.
In general, try to avoid tightening the stones while the machine is actively milling flour. Tabletop mills are built with a strong motor for rotating the moving stone, but the mechanism for tightening the stones is not so strong. Avoid putting unnecessary stress on the tightening mechanism. If you’ll be milling two types of flour at the same time and want to mill one type on a tighter setting than the other, mill that one first. Then, loosen the stones to mill the second type. If you always work from the tightest setting to the loosest, your mill will function well for longer.
Once your mill is set to the correct setting, place a container at the bottom of your mill to catch the flour, and then pour the berries in the top of your mill. Replace the mill’s lid so any stray berries don’t go flying out. Stand by your mill as it’s working to make sure the flour doesn’t overflow and to be ready to clean the machine and turn it off as soon as you’re finished milling.
Once you’ve milled all the berries, remove the container with the freshly-milled flour. Add a small handful, about a tablespoon or so, of dried white rice to the mill and run this through to clean the stones. White rice is a great choice because it does not contain any oils and is good at picking up bits of bran and any oily residue left on the mill stones. Regular cleaning will prevent buildup on the mill stones. Rice also has the advantage of not being a common allergen, meaning it won’t contaminate your machine with something people are frequently allergic to. We really like sushi rice for this purpose because the shape is ideal for getting in the grooves of the mill stones, but any type of dried white rice will do. After the rice has been milled, give your mill a few gentil pats on either side to encourage the last bits of rice flour to come out. Then, discard the milled rice, pull the width bar back to the widest setting, and turn the machine off.
Step 5: Use The Flour
You can use your freshly milled flour immediately! If your tabletop stone mill warmed up during the milling process, your flour might be a bit warm too. If so, let it cool on your counter for a few minutes. Freshly milled flour can be stored at room temperature for a few weeks, but the exposed oils will cause it to go rancid more quickly than the berries would spoil. The best way to store freshly milled flour is to put it in an airtight container or bag and freeze it. However, the milling process is so quick and easy that we recommend only milling exactly what you need for whatever recipe you’re making. That way you’ll know you’re always using the best, freshest flour possible.
Common Mill Stone Settings
At our bakery, we use different settings to mill different types of grains. We always use the widest mill setting we can get away with because wider settings mill more quickly and reduce friction.
Tightest Setting
We use the tightest setting to mill durum wheat into semolina, and we run durum through the machine twice to get it extra fine. Durum wheat berries are very, very hard, and unlike most berries, the endosperm is about as hard as the bran. To get a fine semolina which can be used in breads or pastries, milling it twice really is necessary.
We also use the tightest setting to mill Sonora wheat. Even though Sonora is classified as a soft wheat, we’ve found the bran flakes to be really hard. Sonora really needs to be milled on the tightest setting so its bran won’t create an unpleasant texture in the resulting baked good.
For most non-wheat berries, the tightest setting is the way to go. That’s because ancient grains usually have a really hard bran. Emmer, spelt, and barley are three grains we mill on the tightest setting at our bakery. Rye is a bit softer and can be milled on a looser setting depending on preference.
Medium-Tight Setting
We mill all other soft wheats on a medium-tight setting. With the exception of Sonora, all the other soft wheat we have worked with have a tender bran which gives our pastries a nice toothsome texture. The endosperm of soft wheats really is powdery and doesn’t take much encouragement to become a fine flour.
We also mill many of our hard wheats on a medium-tight setting for bread baking. Because our bread doughs ferment for a long time, the water in the recipe is able to soften the bran flakes enough that they’re not unpleasant to eat. The only reason we mill these hard wheats on a slightly looser setting is because it’s faster and creates less friction in our mill. Since we mill up to a kilo and a half of berries for one bread recipe in our bakery, this makes a big difference. However, hard wheats perform just as well when milled on a tighter setting, so how you mill yours is up to you.
Medium Settings
Looser settings really won’t work for flour, but they’re great for tasks like milling dried corn into cornmeal and whole oats into a rough oat meal. To mill things like these, start with your mill stones at a tighter setting than you think you’ll need and begin milling. Slowly pull the bar to wider and wider settings until you’re getting the texture you want. Remember, you can always adjust your mill to make the stones looser while it’s running, but never try to tighten the stones during the milling process.
This week’s recipe is for Sesame Rye Cookies, a simple and delicious cookie that uses full-inclusion rye flour, honey, and tahini. We talk about how to mill your rye flour to get the texture of cookies you like, either a fine flour for delicate cookies or a coarser flour for a more toothsome bite. Let’s get baking!