


The Full-Inclusion Kitchen: Equipment
What You'll Need (Hint: It's Not Much)

The act of switching to full-inclusion flour can feel radical. But, we assure you, it’s not as big of a step as it seems. If you think about it, switching to full-inclusion is just one more small way we can update our cooking and baking methods to be more sustainable. If you’ve already started saving veggie scraps and chicken bones for stock, freezing berries in the summer, and composting, switching to full-inclusion flour is really just another small step that makes a huge difference. That’s because full-inclusion flour is zero-waste, seasonal, and supports your local food system.
First, a disclaimer: our recipe series is intended for home cooks with baking experience. Full-inclusion baking is a complex subject with lots to cover. If we tried to cover the basics of baking too, our posts would be too long and confusing to read. So if you’re just starting out, begin your baking journey with recipes intended for beginners, and then return to full-inclusion flours when you’re ready. We’re always happy to recommend cookbooks that are beginner-friendly. Just reach out to us in the chat!
The good news is, full-inclusion baking is not that different from baking with white flour, meaning that it’s easy to apply the baking skills you already have. There are just a few things that are different, and we’ll be covering those in our next few blog posts. This week, we’re focusing on the specific equipment you’ll need to be successful with full-inclusion baking.
We’re going to assume that you already have the basic baking equipment in your kitchen. Some of the items we use the most are baking pans, parchment paper, a heatproof spatula, a metal spatula, and a whisk. These don’t need to be fancy at all. Since we weigh all of our ingredients, we actually don’t use things like measuring cups and teaspoons, although we include the teaspoon equivalent for very small measurements in our recipes. More on that later.
So here are the things you’ll need beyond the basic kitchen essentials in order to be successful with full-inclusion baking.
Flour Mill
If you’re going to mill your own full-inclusion flour, you’ll need a flour mill! You can read our blog post about flour mills here. We’ll have more blog posts on flour mills later on, as there is so much to say on the subject. But, you can still do full-inclusion baking without owning a flour mill. Completely unsifted flour is available from many local millers, and even if you can’t find that, a lightly sifted stone-milled flour is still going to be so much better than commercial white flour. Don’t let the pursuit of the perfect keep you from the good.
Regardless of where your full-inclusion flour comes from, you will need the following to use it properly.
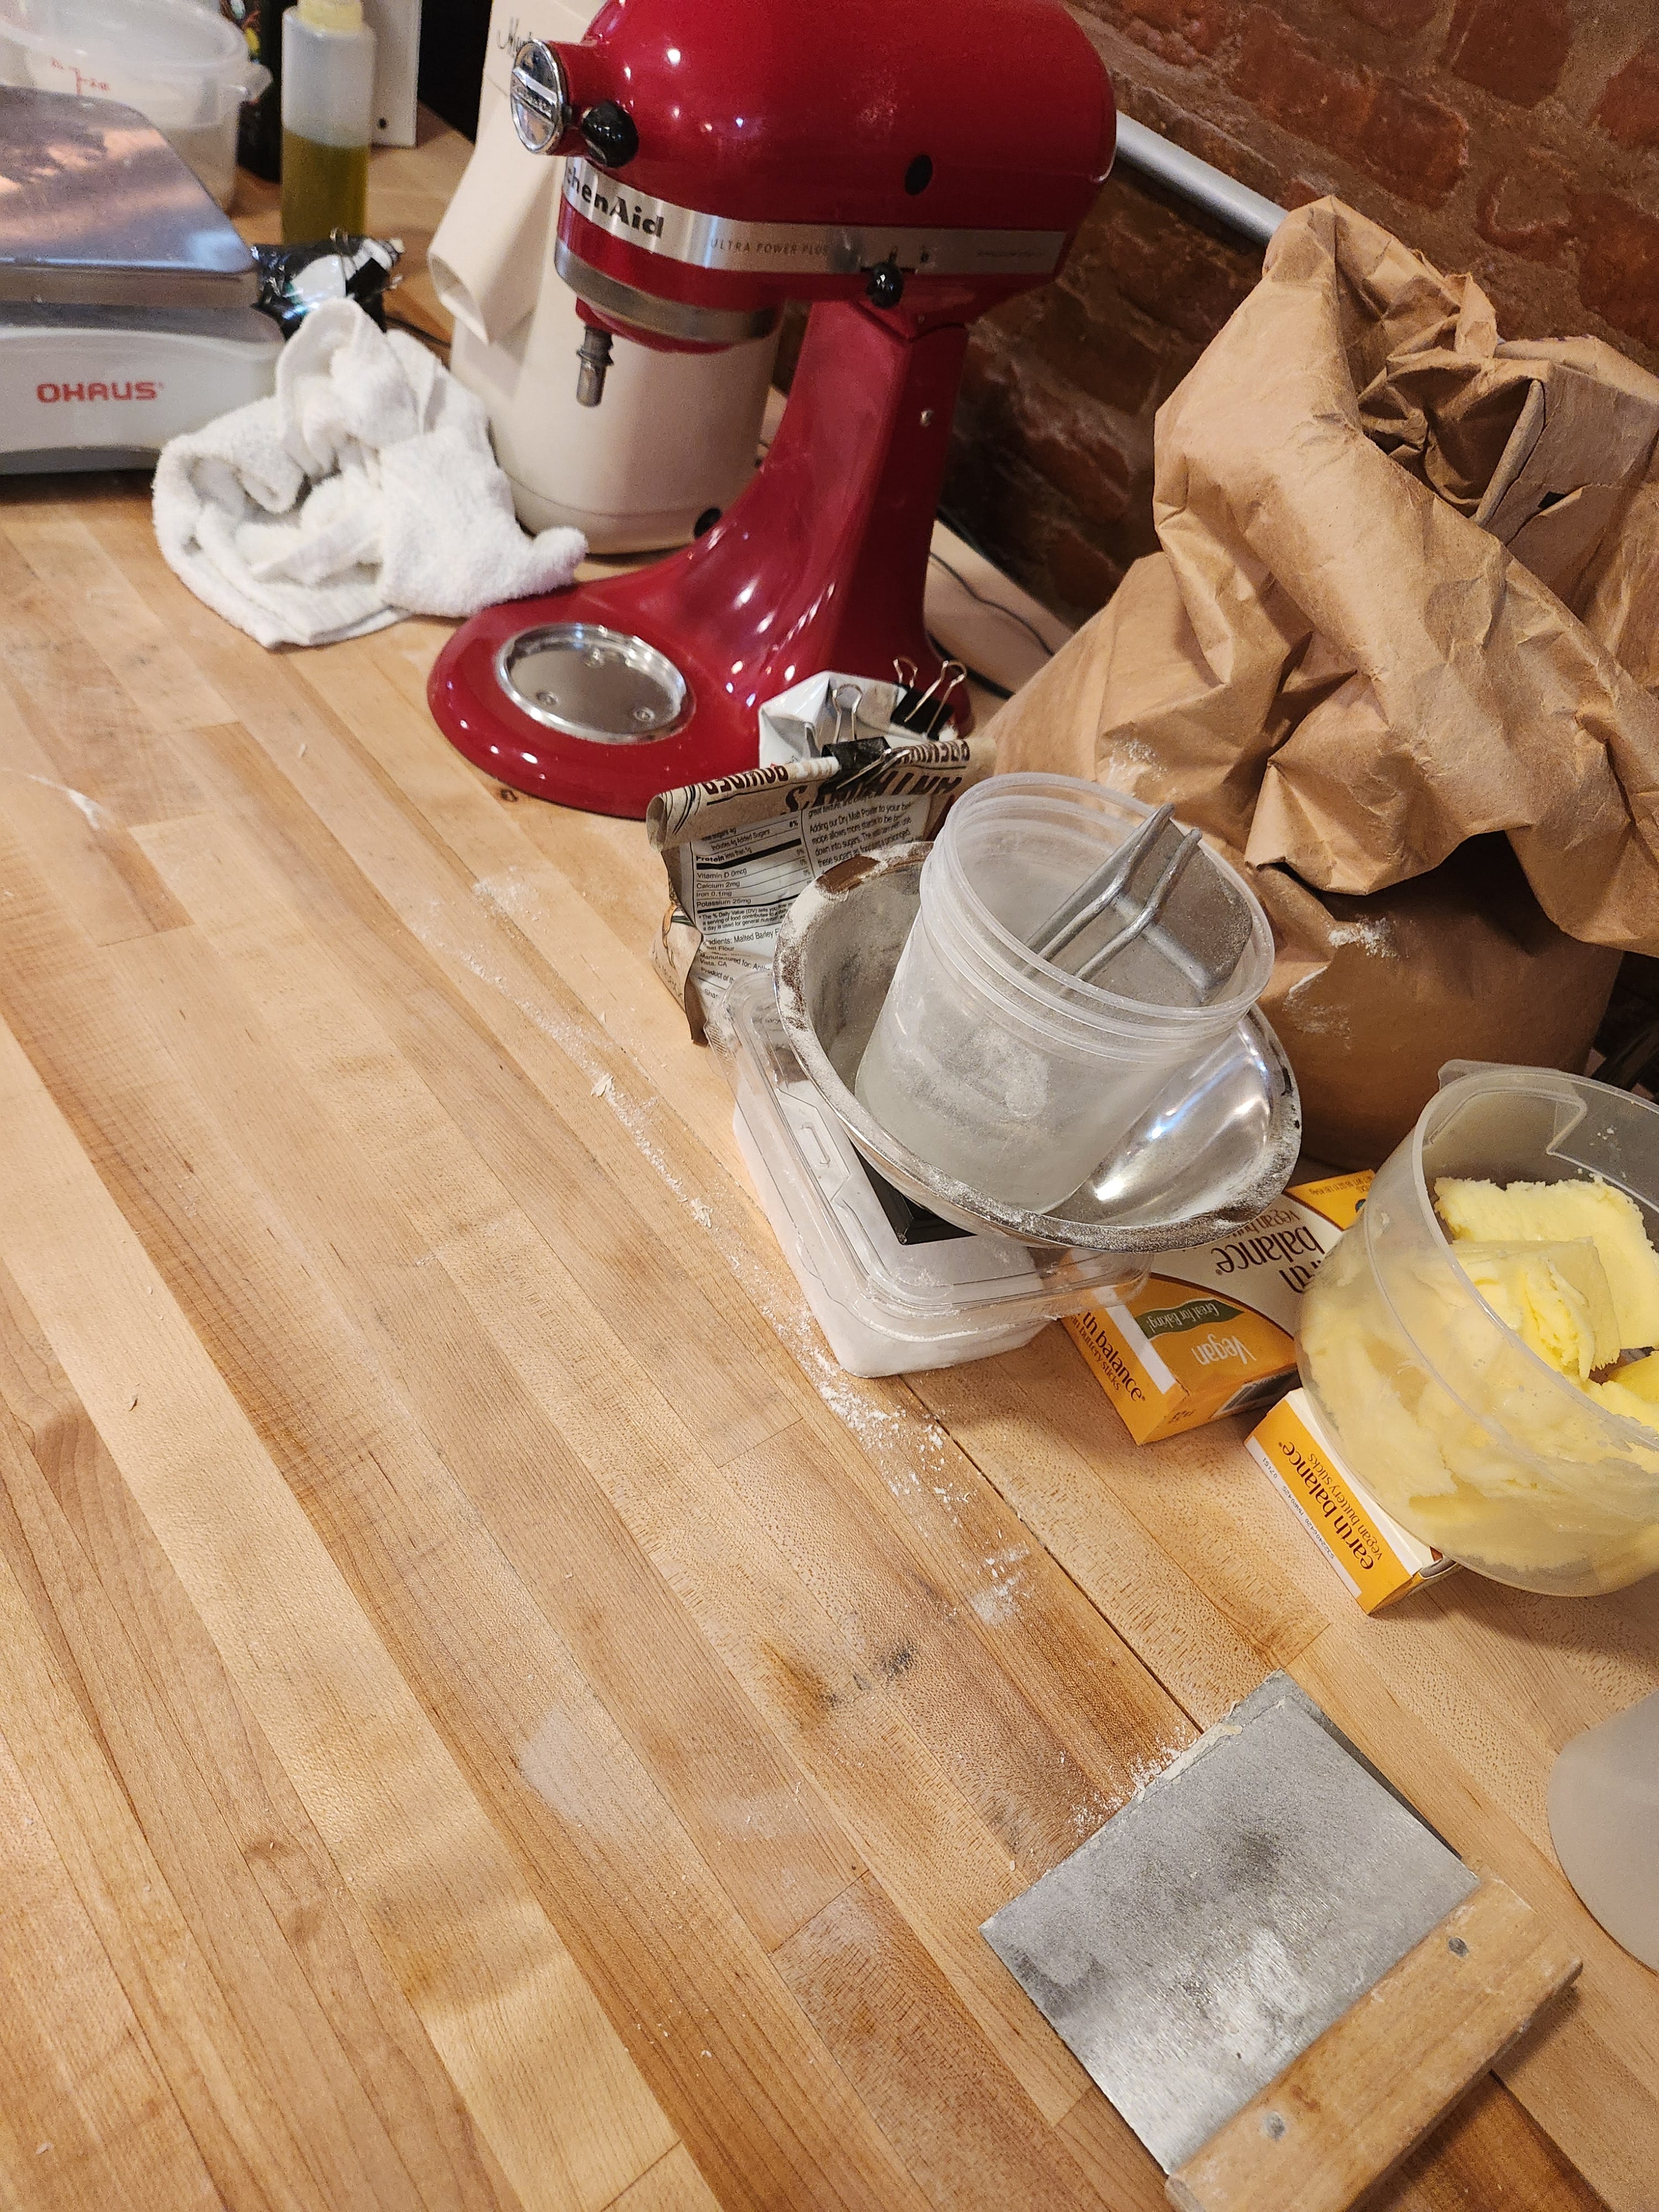
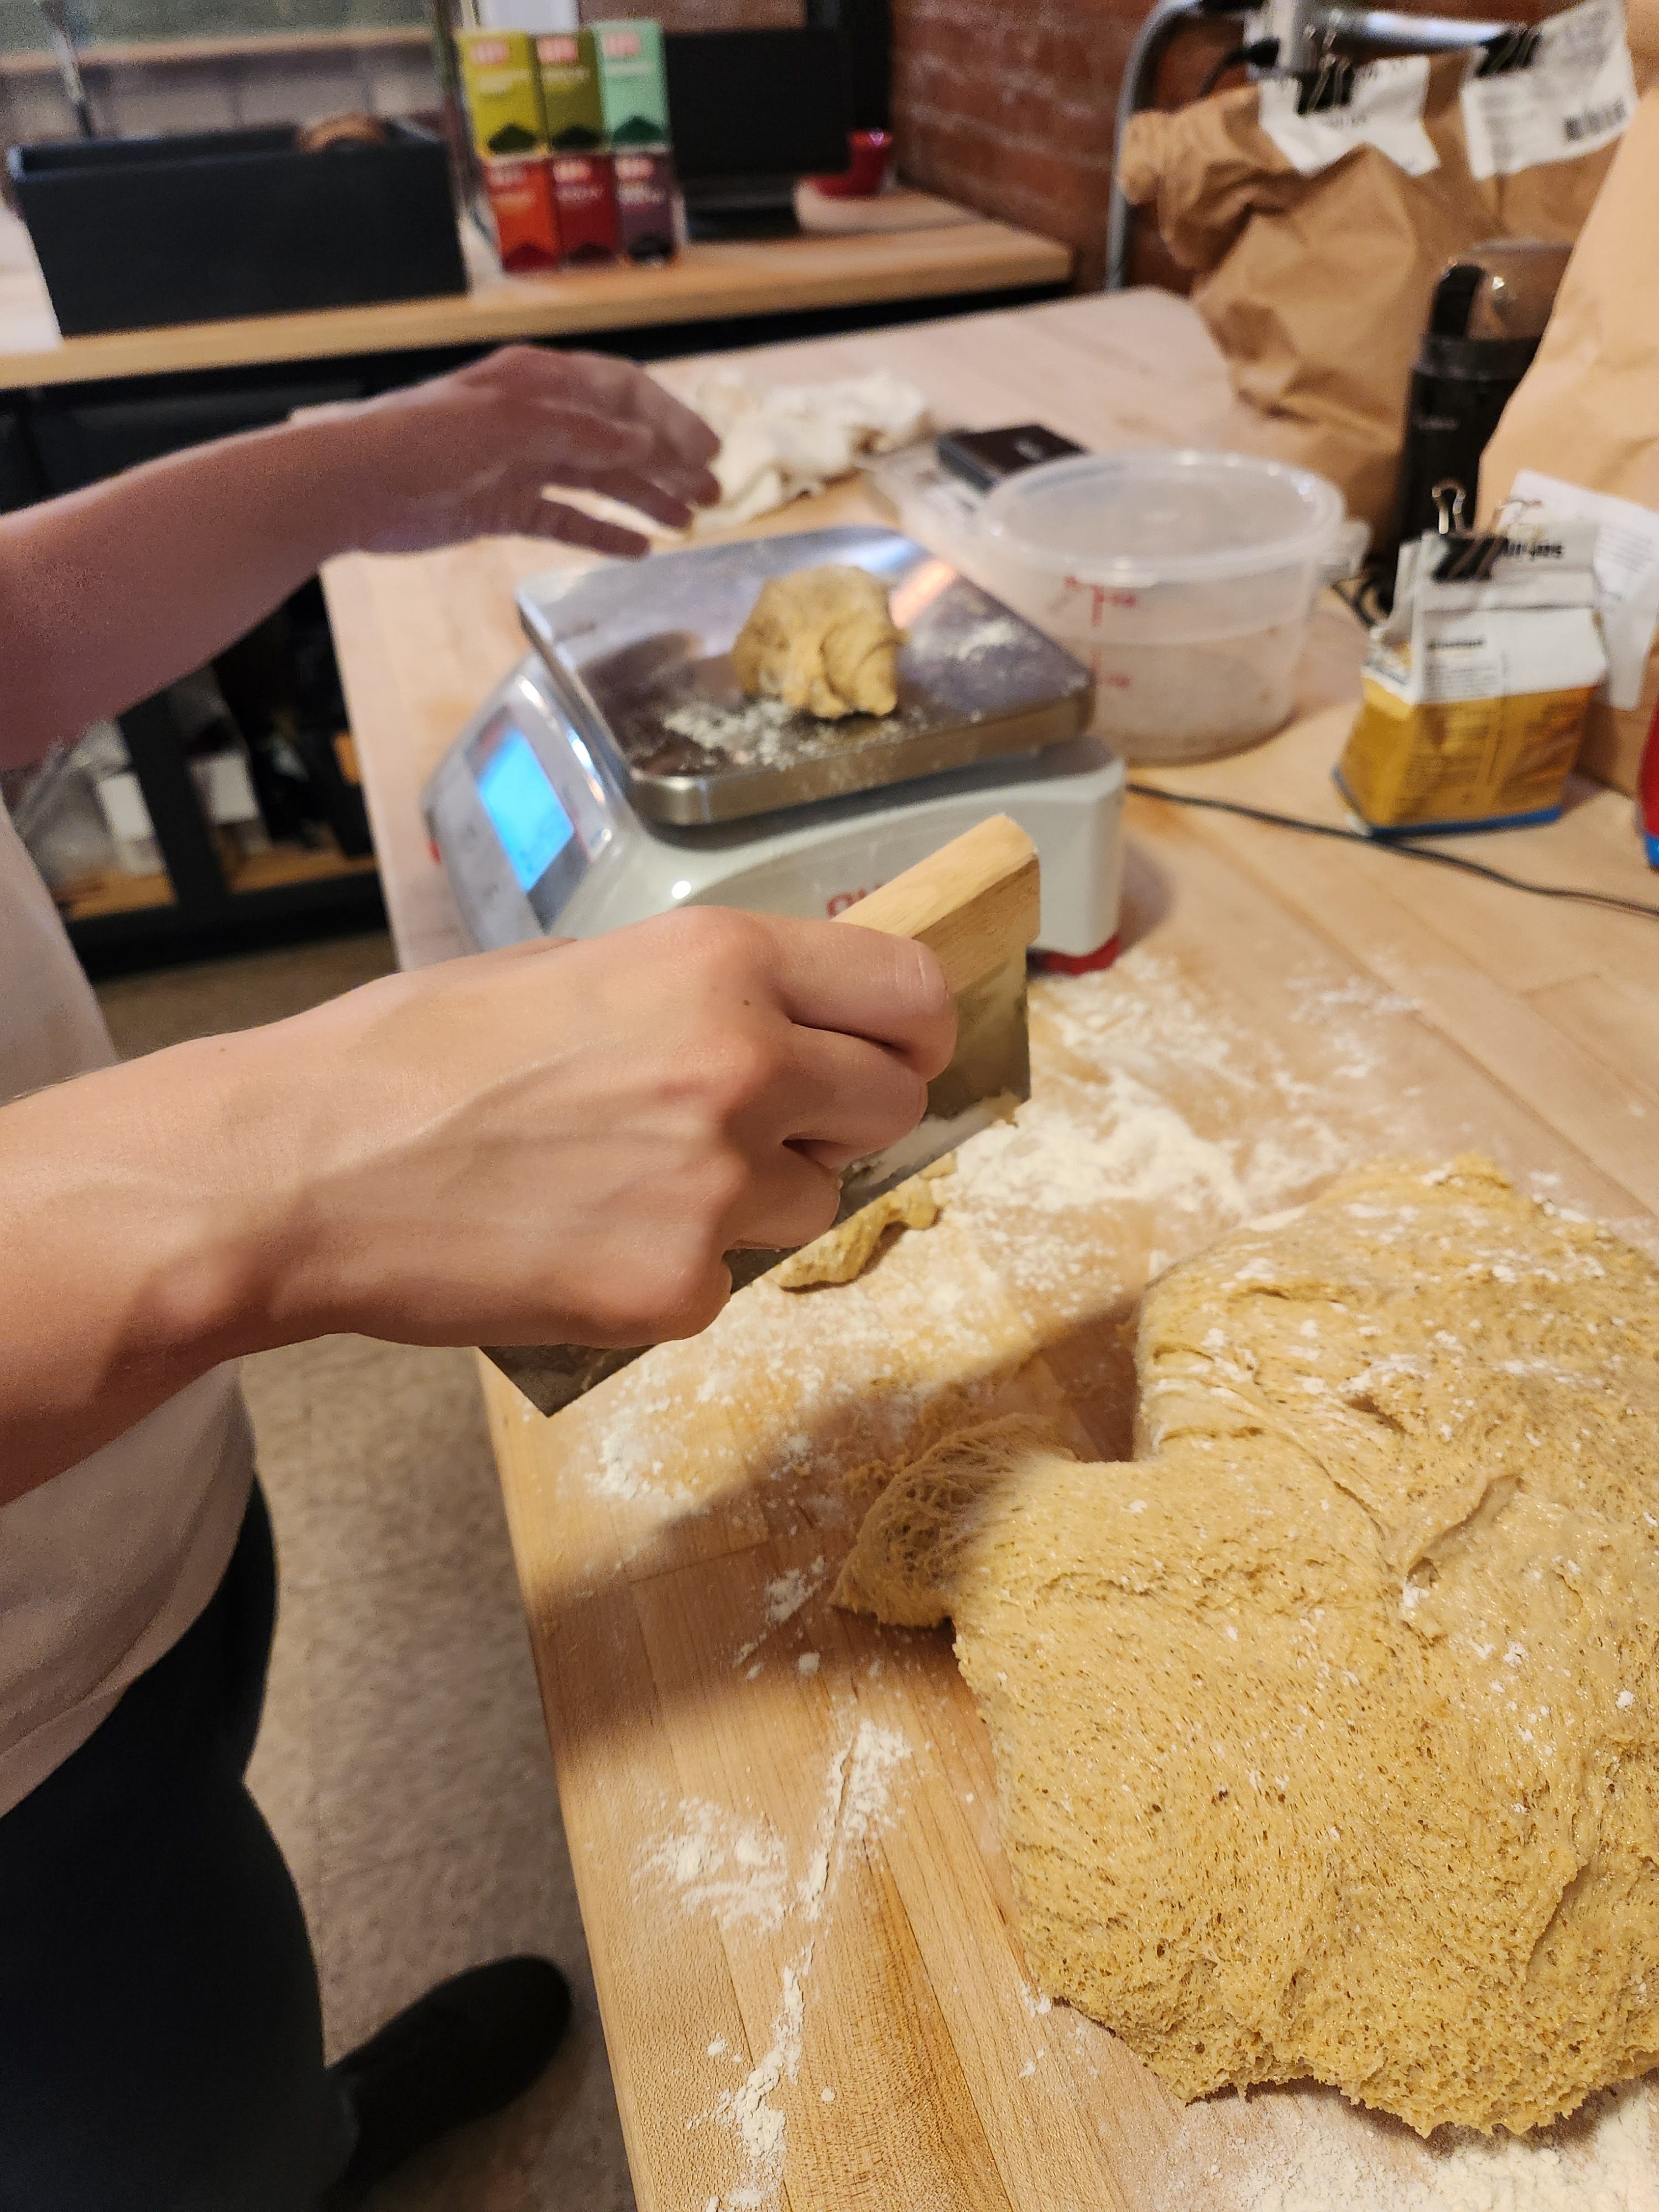
Scales
In essentially all bread recipes and many pastry recipes, the main ingredient is flour. Therefore, measuring the flour accurately is essential for success. When measuring flour, doing it by weight will produce perfectly consistent results, whereas measuring by volume will not. When working with white flour, in some recipes, a bit of a discrepancy doesn't matter so much. But when switching to full-inclusion, or even just stone-milled flour, there are so many more variables that can lead to wildly different results, unless the flour is weighed.
Consider how full-inclusion flour contains the bran, which is heavier than the endosperm. The white flour we’re used to baking with is made up of exclusively endosperm. When we start using flour with bran, germ, oils, and more minerals, we’re introducing many more variables into how much a portion of flour will weigh.
Commercial baking, especially commercial bread baking, relies exclusively on the metric system. When you’re making a batch of 500 of something, you don’t want a discrepancy in flour weight to ruin the whole thing. In bread baking, there is a standard way of writing out recipes, called Baker’s Percentage, that makes it easy to understand each recipe and share recipes among bakers. The basic premise for Baker’s Percentage is that the flour is always 100% of the recipe, by weight. This makes it really easy to compare hydration, because if I say a recipe has 78% hydration, you’ll know that I mean 78% of the weight of the flour. In order to use this system, the flour must, of course, be weighed. You can read about how we use Baker’s Percentage to develop recipes here.
The good news is that once you have a scale, you can weigh all the ingredients directly into the bowl, greatly reducing the number of scoops and spoons that need washing. You can also do away with any concern about how you’re getting your flour into your measuring cup. Have you ever read that you’re supposed to spoon it in and then level it off with the back of a knife? Or sift it first? No need for that any more! So a scale is an investment, but one that's well worth it.
Big Scale
In our bakery, we use a commercial Ohaus scale that can weigh things as heavy as 30 kg. Importantly, the scale weighs in 5 gram intervals, meaning we can still get very accurate measurements for smaller recipes. When choosing your scale, select one that measures in 5 gram intervals or less. Intervals of 1 gram is usually ideal for home bakers, but consider that many scales that are accurate at such low intervals have a lower maximum weight, meaning you might be limited to smaller batch sizes.
Tiny Scale
To accurately weigh small amounts of ingredients, we also have a very small scale that accurately measures to the one-hundredth of a gram. We use this small scale for things like yeast, salt, baking powder, and spices. We love the accuracy of this scale and consider it a great investment. However, it has a very low maximum weight of 100 grams. If you’re going to purchase just one scale to begin, select a big scale, preferably one that uses 1 gram increments, and use teaspoons if needed to measure small amounts of ingredients. It won’t be quite as accurate, but it will work.
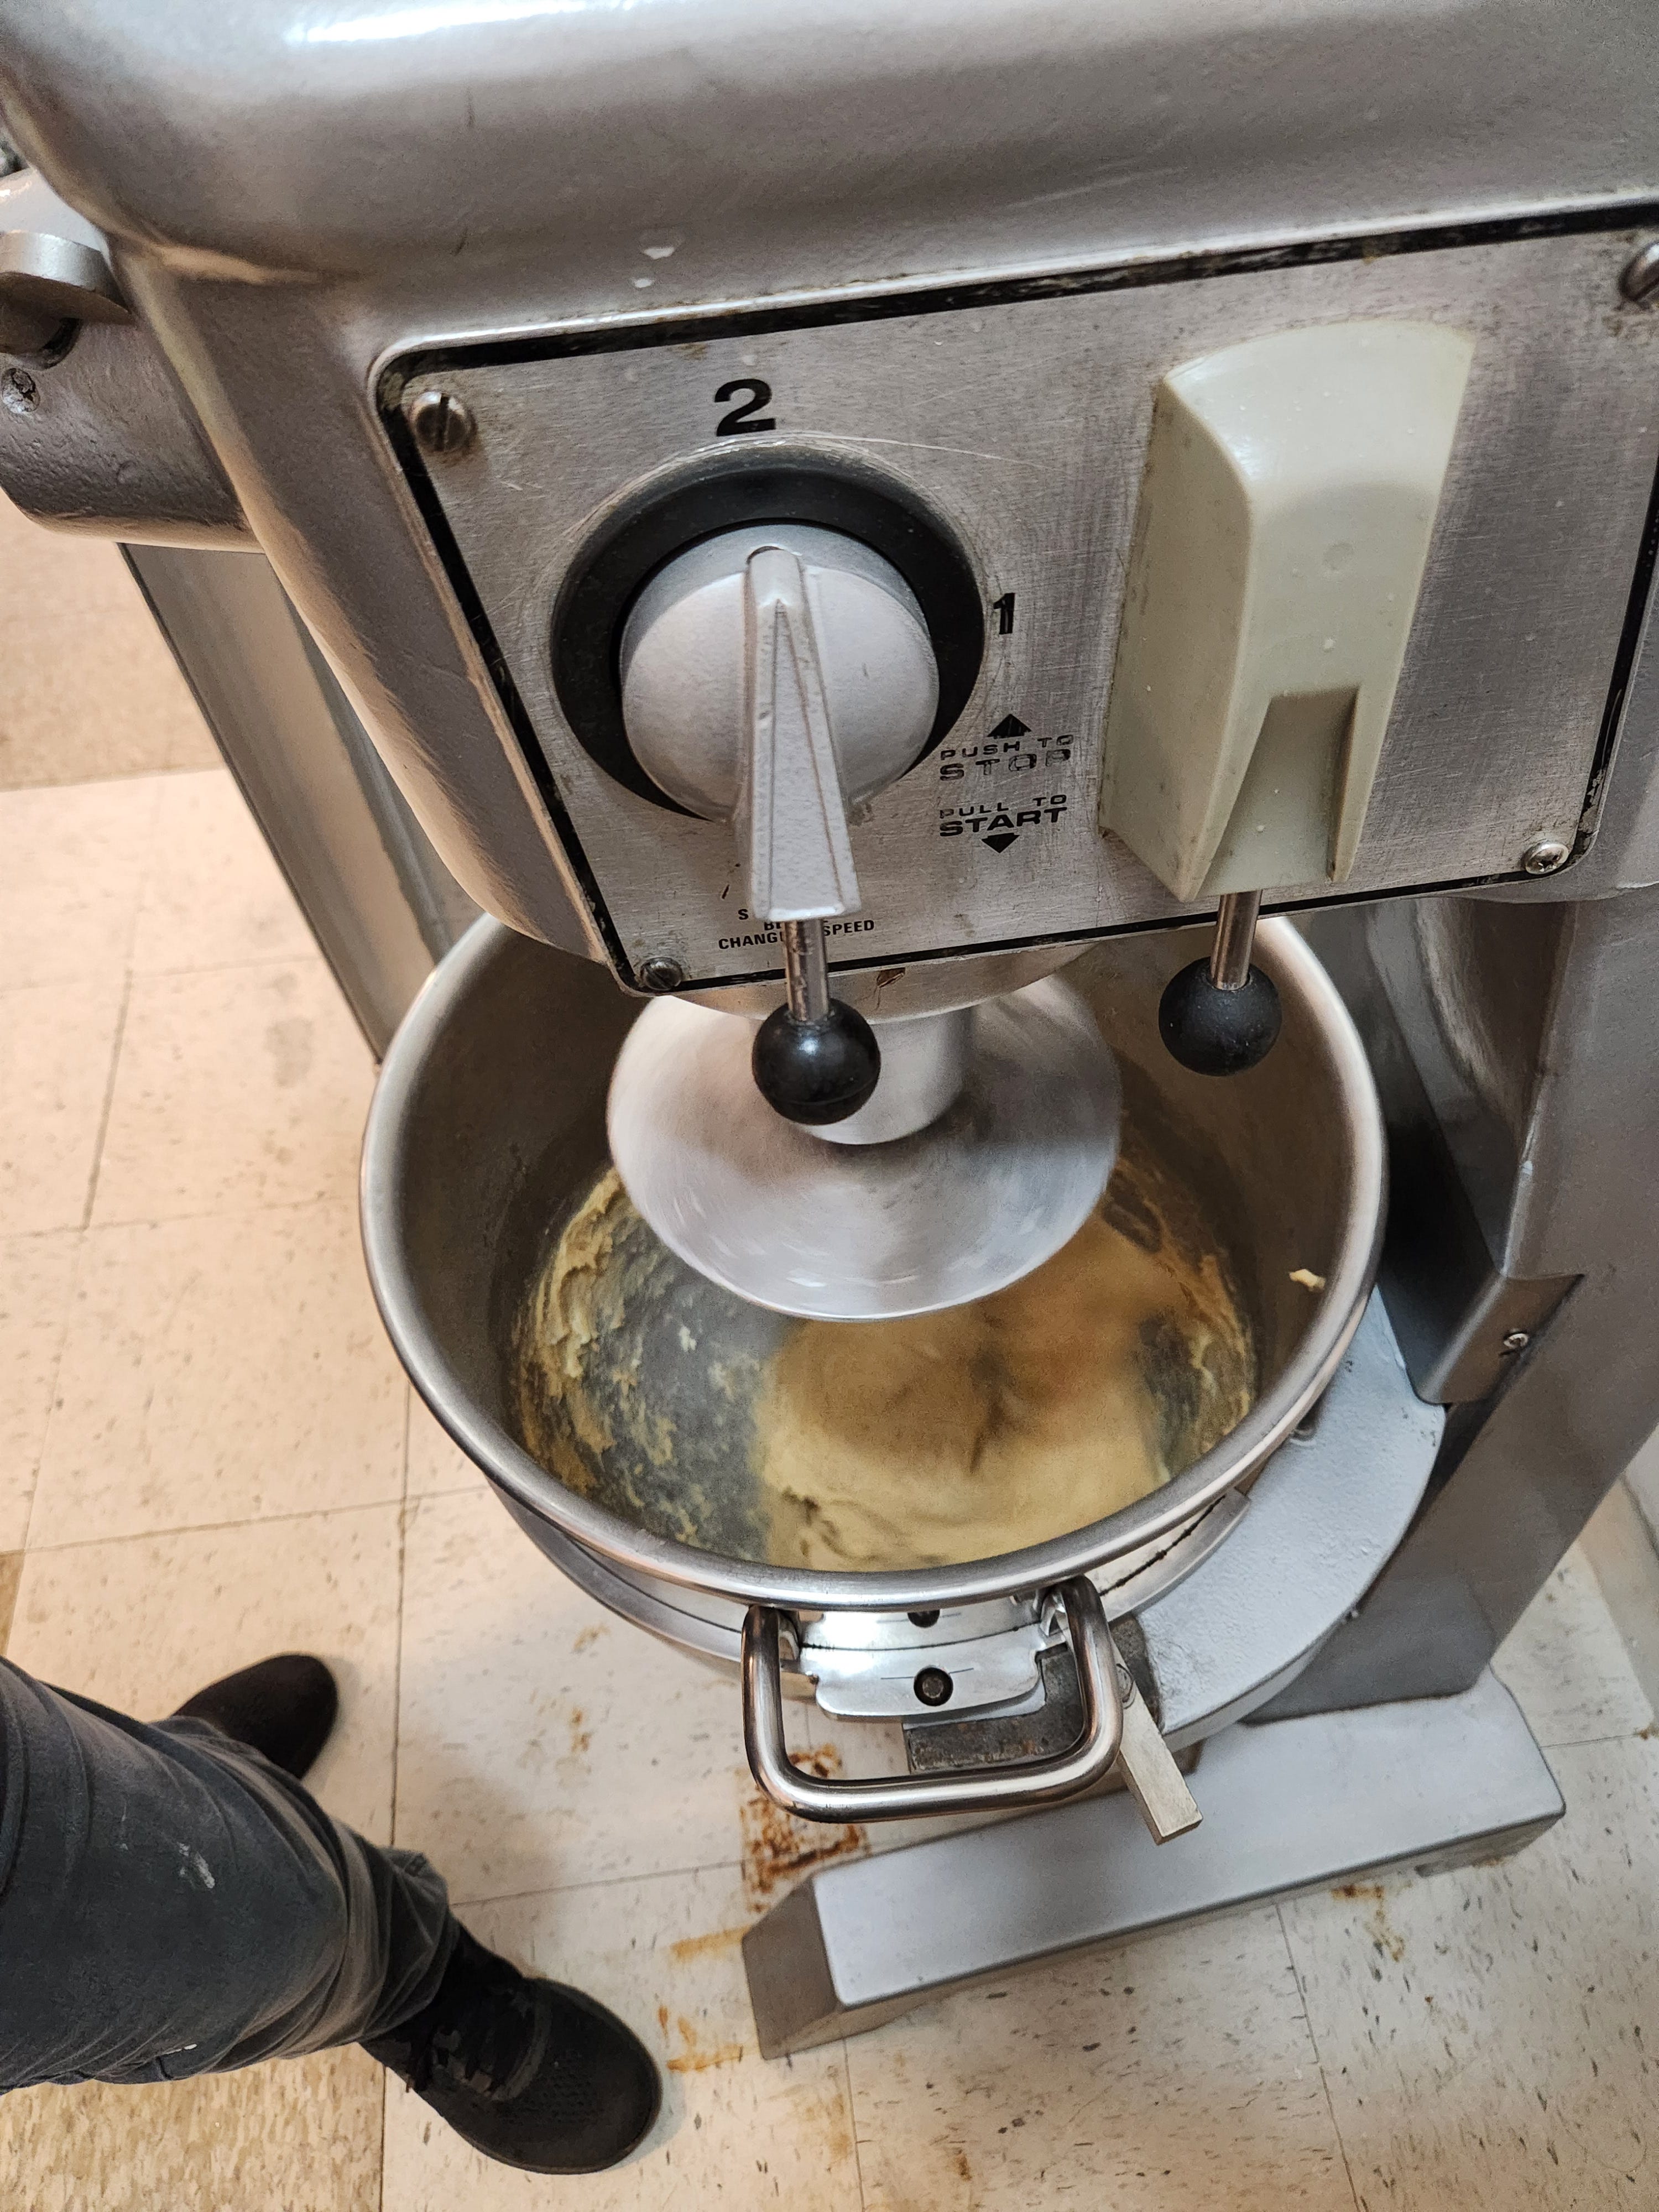
Stand Mixer
We use a stand mixer for many of our recipes because the efficient mixing ability helps add structure to our batters and doughs. When using full-inclusion flour, the bran puts stress on the recipe because of its weight and its tendency to cut through developing gluten strands. Having a stand mixer helps us compensate for this by ensuring that our batters and doughs are mixed perfectly.
At our bakery, we have a standard tabletop Kitchenaid that we use for smaller batches of things like cookies and cakes. We especially use it when doing recipe development for the recipes we share with you so we can be accurate in our instructions for home bakers. We replaced the original coated paddle and hook attachments with stainless steel ones and have found them to be much more durable and easier to work with.
We also have a commercial size 30 quart stand mixer that we use for all of our bread doughs, except when we’re developing bread recipes for our Substack. It really is a better machine for mixing bread doughs because it’s simply heavier and therefore stronger. But, don’t worry, there’s no need to purchase a commercial stand mixer for your home kitchen, unless you really want to!
For many of our recipes, if you don’t have a stand mixer at all, you can use a handheld mixer to accomplish many of the same things, like creaming butter and beating eggs. When it’s time to add the dries to a cookie or cake batter, simply switch to a spatula and do this by hand so you don’t stress the motor of your handheld mixer or overwork the mixture. Unfortunately, handheld mixers will not work for bread doughs at all. And, since full-inclusion flours will make bread doughs more sticky, we don’t recommend trying to mix them by hand, either.
Bench Scraper (AKA Bench Knife)
A bench scraper is a bread baker’s best friend, and we put ours to good use. A bench scraper consists of a flat metal sheet with a flat edge and a handle for easy gripping. Since doughs made with full-inclusion flour are sticker and more likely to rip, having a good bench scraper is a must for shaping your dough into a proper loaf. Bench scrapers are also great for tasks like cubing butter, gathering ingredients, and cleaning your work surface.
Plastic Bowl Scraper
Unlike a bench scraper which has a rigid flat edge, plastic bowl scrapers are flexible and have a rounded edge. They’re essential for scooping doughs out of round bowls, like the bowl of your stand mixer. A plastic bowl scraper is almost an extension of your fingertips, and when you hold one, your hand and arm essentially become a very large spatula. Plastic bowl scrapers can be very flexible, very rigid, or somewhere in between. Matfer Bourgeat produces the gold standard of plastic bowl scrapers, but for home use, really any moderately flexible scraper will do.
Several Bowls
As much as we love one-bowl recipes, full-inclusion flour just needs a bit more accommodation. In pastry recipes, generally there are two components that get mixed together: the wets and the dries. The wets, whether that’s butter creamed with sugar, or an egg mixture, or really anything else, will lend a bit of structure to the recipe. In full-inclusion baking, that structure is even more important, and the wets really need a bowl to themselves. The dries also need to be fully mixed before being introduced to the wets so that you don’t need to over-stir the mixture to fully incorporate things like salt, baking powder, and spices.
One approach to the one-bowl method is to mix all the dries except the flour into the wets first. An issue with this is leaveners such as baking powder and baking soda will begin to react immediately. When you stir the flour in, you’ll be deflating some of the bubbles the leaveners created. Since full-inclusion flour is heavier, it’s important to not do anything that would threaten the effectiveness of the leaveners. It’s best to add them at the same time as the flour so you don’t overmix anything. Also, salt breaks down the proteins in eggs, so adding it at the same time as the flour reduces the risk of it damaging that protein structure too.
So, really, full-inclusion recipes need two bowls. But, what we feel makes up for that added hassle is that full-inclusion flour never needs to be sifted. (We really couldn’t sift it anyways as that would remove some of the bran.) Stirring the dries together with a spoon or even your fingers mixes them quickly and easily, and the bran helps to eliminate clumps, leading to an even, aerated mixture that’s ready to go straight into the wets.
As you can see, the equipment you need for working with full-inclusion flour is pretty minimal and easy to come by. In the next few weeks, we’ll continue to discuss how to adapt your kitchen to use full-inclusion flours in everything. In the spirit of sustainably reducing waste, this week’s recipe is for our famous Bostock, a weekend treat at our bakery that is the perfect use for day-old bread. Let’s get baking!